50 Top Detailing Tips
A full half-century of professional tricks and tips put together specifically to push your detailing to the next level.

 Skip to content
United Kingdom
No matter your detailing experience, you can take your car care skills to a professional level with the ultimate all-encompassing course – Five Detailing Stages You NEED To Know.
From single-stage enhancements and maintenance details right through to decontamination washing, full multistage corrections and adding protection, we'll take you through five different details - on a multitude of vehicles - teaching you every process involved and the essential products you’ll need along the way.
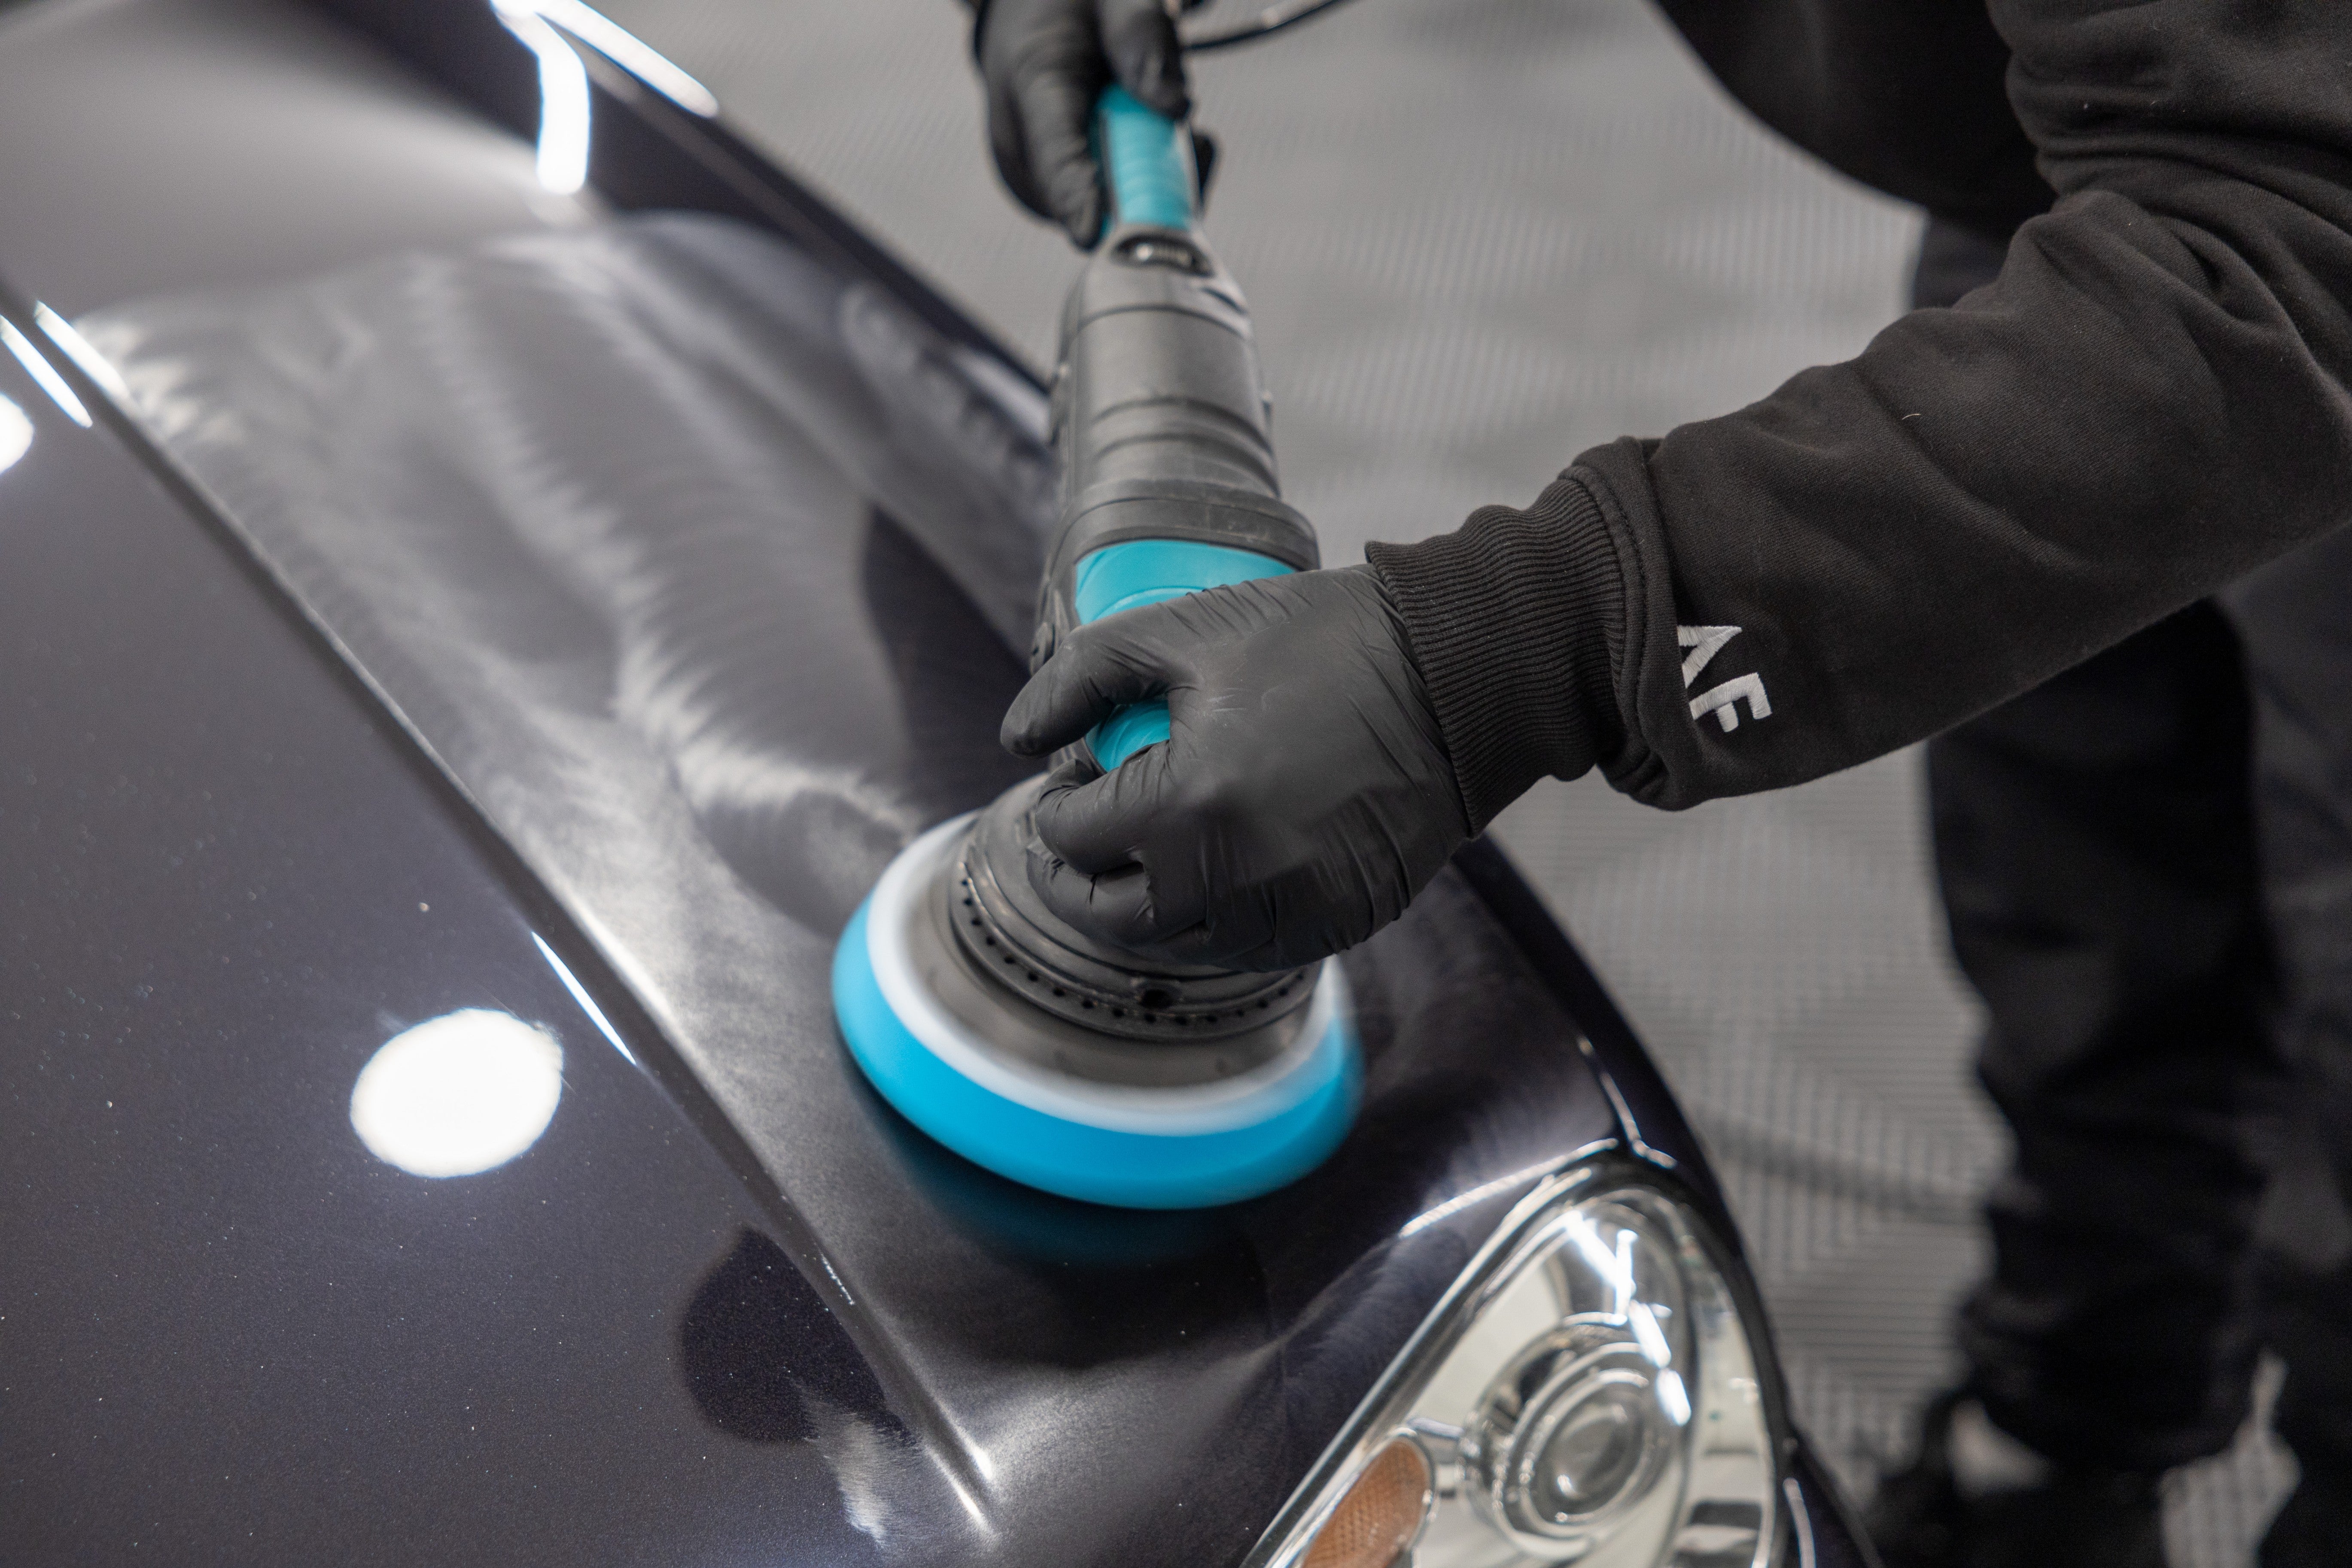
We’ll show you exactly how to perform each step from surface preparation and decontamination to how to best use your machine polisher and how to protect your work from the elements, imparting the key fundamentals that underline the work of every accomplished master detailer.
In this course we fully break down a Decontamination Wash, an Enhancement Detail, a Correction Detail, a Protection Detail, and a Maintenance Detail into a selection of easy-to-follow step by step picture and video lessons. Don’t just read about these processes – see every one from beginning to end as we take on a range of paint defects and intense cleaning processes, offering the professional tips and trade secrets that will place you right at the top of your game.
The vast majority of detail types fall into these categories and this course has been designed to take you through each, with simple step-by-step guides focusing on getting the very best from your products and equipment.
Aimed at enthusiasts looking to master the more advanced detailing stages, along with professional detailers and valeters dedicated to sharpening their skills, this course covers subjects such as: defect types and how to spot them, masking up, visual inspection criteria, measuring paint depths, polishing pads, compounds and polishes, and how variations in paint hardness affects how you approach different procedures.
We’ll also answer the most common questions including: How often can paintwork be corrected? What offers the most durable protection for paintwork, wheels and vehicle glass? How long will my detail take? And, What’s the idea behind a test spot?
By covering these processes and a wide range of products and accessories - such including our professional Dual Action Machine Polishers, Caramics Ceramic Coatings, wax and sealant-friendly wash products and our Signature Hard Wax Collection - the Five Detailing Stages You NEED To Know Course will ensure that you’re fully prepared for any detail, on any vehicle, at any time.
Decontamination Cleaning – Before you start polishing learn the fundamentals of the 3-stage paint ‘decon’ necessary to strip away old protection layers and prepare for any safe enhancement or correction detail.
Enhancement Detail – Discover the key processes needed to remove light swirl marks and holograms to enhance the visual appearance of all types of paintwork on any vehicle area of any size.
Correction Detail – See how to tackle a full, multi-stage paintwork correction detail and get the lowdown on the products, pads and polishers to use for cutting away defects and refining paintwork to a flawless finish.
Protection Detail – Learn the vital stages of cleansing paintwork and adding wax protection after enhancement, and correction details, along with details when polishing isn’t required or desired. This lesson also includes application of ceramic wheel and glass coatings.
Maintenance Detail – See how, and exactly when, a protection-friendly maintenance should be carried out. This lesson covers every process from wheel cleaning and safe washing, to drying and those all-important finishing touches.
Three of the most in-depth chapters of this course include our Enhancement, Correction and Protection Details, but before we can work on those let's jump straight into the essential detailing procedure you'll need to complete before any of these - a full, 3-stage decontamination wash.
Performed immediately after a throrough pre wash and contact wash, a decontamination clean (otherwise known as a decon wash) is a 3-stage process that's designed to eradicate the type of paintwork contamination that traditional washing alone will not be able to remove.
Utilising a series of specialist detailing products, this process is essential prior to starting any polishing stages not only to get the best professional results but to eliminate the risk of causing surface damage as you polish.
Here we remove ingrained particulates and contamination such as ferrous metal deposits, enviromental contaminants and sticky residues from your paintwork. At the same time we'll strip away any previously applied protection layers preparing surfaces for any later stages where we'll be using abrasives to enhance or correct.
It may not always be obvious, or even visible, to the eye but it's likely that your paintwork will have been exposed to various types of harsh contamination through normal driving. This can vary from the protein and mineral deposits in bug splatter, bird droppings and water spots, to brake dust contamination, tar and glue resides, and even overspray.
The reason why we complete a decontamination wash now is to take away the risk of these (potentially sharp) particles from being pulled out and swirled around on your machine polishing pad later. Polishing contaminated paintwork can often do more harm than good. The key to a flawless, swirl-free finish is all in the preparation.
Just before your paintwork decontamination wash though, you'll need to follow a full safe wash routine including an effective pre wash and snow foam. This whole process starts with cleaning your wheels and finishes with rinsing away the residue from your contact wash. You can see these essential steps in our Driveway Warrior Course. The reason why we always use safe wash techniques in preparation for our decon wash is simple - to limit the chances of inflicting even more damage and creating more polishing work later.
Once we've completed our contact wash we can begin our 3-stage decontamination while the vehicle is still wet. There's no need to dry the car after contact washing, the decon wash is essentially an extension to the regular wash stages.
The first step is using Iron Out Contaminant Remover to eradicate any metal contamination.
Ferrous metal contamination - which comes from various sources, most commonly brake dust - is essentially sharp pieces of metal shrapnel that tends to embed itself in your paintwork. It's not always visible but in many cases the metal will appear as tiny rusty spots in the surface. This type of ingrained contamination requires an intensive chemical reaction for safe removal. The idea here is to chemically dissolve the metal into the Iron Out solution to create a solute that's safe to rinse away.
We start the process by applying our Iron Out liberally over each panel. It's important to cover every area of paintwork that's going to be polished later because, even though you'll typically find the biggest concentration on the lower areas, it's likely that the whole vehicle will have been exposed. With that in mind don't forget the bonnet, the roof and the rear end.
As the Iron Out solution reacts with the metal that's present you'll see it turn blood red, something we refer to as "bleeding".
Developed as a heavy-hitting ferrous fallout remover, Iron Out is an advanced decontamination remover in a reactive gel, capable of safely and effectively erad... See product details More
Before we rinse the car down, we lightly agitate our Iron Out into the bodywork. This not only gives the product more bite by refreshing the solution, but ensures that every part of the panel has been contacted. For this you can use a clean, wet microfibre cloth, or a dedicated wash mitt, but be sure agitate in straight lines. This will help to cut down on the risk of creating swirl marks.
Once agitated, we can rinse the whole vehicle down from top to bottom using our pressure washer. Ensure you're extremely thorough here as you're rinsing away all the metal trapped in the solution, you don't want to leave any behind before moving onto the next step.
Tar and sticky glue residues are the harsh contaminants we tackle next. Again these cannot be removed by washing alone and require a specialist detailing product that uses solvents to safely dissolve them, breaking their bond with the surface and allowing them to be wiped away with a clean microfibre cloth. ObliTARate Tar & Glue Remover is our weapon of choice here, a powerful blend of solvents developed specifically for the job.
Sticky residue removal is more of a targeted process than metal removal, in most cases you'll see any contamination present, and the vast majority will be on the lower areas of the car.
ObliTARate can be used in two ways. Because of the level of contamination here we're choosing to spray on directly using a trigger bottle, avoiding any plastic trim as we go. For smaller areas we can apply ObliTARate directly to our cloth and wipe. In many cases you'll see tar and sticky residues start to melt away as soon as the solvent makes contact.
Once applied we'll use a clean microfibre cloth to lightly agitate the solution. Again we're not scrubbing here, we're just making sure that our solvent reaches every area and is refreshed when needed on the most concentrated areas of contamination. We can then fold the cloth to a clean portion and quickly wipe away the contamination trapped in the solution.
Auto Finesse® ObliTARate tar and glue remover, is a solvent-based formula that quickly dissolves stubborn tar and glue residues and contamination on contact ev... See product details More
After using ObliTARate it's important to perform a full rinse down and then re-wash the area using your Lather shampoo solution. What this does is neutralise any solvent left on the surface to prevent it interfering with the next decontamination stage. Powerful solvents and detailing clay don't mix - it's a surefire way of making a mess.
The last step of our 3-stage contamination is to use a Clay Bar to physically pull any remaining small particle contamination - such as protein and mineral deposits - out of the surface. This process should be carried out over every portion of the paintwork to leave behind a super-smooth, glass-like top layer that's free of all contamination.
The first part of the process is to prepare around a third of our Clay Bar by kneading in our hands, warming up the clay and continuously folding our portion of clay into itself to create a little pad.
For the best results, and to limit the risk of causing damage, it's important to keep your clay well lubricated as you work. Here we're using plenty of Glide Clay Lube on both the panel and the clay itself.
We work the clay on the vehicle one panel at a time, passing our pad in straight line motions. Your clay should pass freely over the surface and, as it picks up any contamination present, you'll feel the resistance getting less and less. Essentially the paintwork is getting smoother and smoother as you deep-clean the surface.
As we work each panel we regularly fold our clay to reveal a fresh portion. As soon as the clay gets dirty it's important to fold it until you have a clean pad to prevent unnecessarily dragging any sharp particles around the paintwork.
Should you ever drop your clay on the floor it should be discarded straight away and replaced with a new pad.
With the Clay Bar stage finished, once again we'll rewash the exterior with our Lather solution. This time around the Lather will make sure that any left over lube is removed to prevent it interfering with your polishing.
After a final rinse down, we'll dry the car using a suitable drying towel. Here we're ustilising our ultra-absorbent Aqua Deluxe Drying Towel to dry the vehicle from top to bottom.
It's important to dry your car throughly after every wash, whether that's a decon wash or simply routine maintenance. In our case it's obvious that we don't want any water interfering with our polishing, but it's also because tap water - the water we used to clean the car - isn't pure. In fact, most tap water contains all sorts of mineral deposits, especially in hard water areas. When the surface is left to dry naturally essentially the water evaporates off and leaves the hard deposits behind as water spots. In many cases these will need more polishing to remove. This also explains why it's crucial to be thorough and watch out for any stray drips after you finish.
The ultimate luxury microfibre car drying towel, our Aqua Deluxe is constructed from ultra-dense 1200GSM pile microfibre which smoothy glides over paintwork an... See product details More
After drying our simple 3-step decontamination process is finished and the vehicle is ready for the next part of any full detail.
An enhancement detail is exactly what it says on the tin - it's designed to enhance your vehicle surfaces without going so far as to perform a full multi-stage paint correction.
In many ways you can see this type of detail as an entry level machine polish to eradicate light swirls, marring, holograms and oxidation. A step up from a simple hand polish with more consistent professional results.
Let's take you through the entire process step-by-step...
Multi-stage paintwork correction details are arguably the most in-depth process in detailing.
The idea of a correction is to remove all defects and bring the paintwork to as close to flawless as is possible through intensive machine polishing. As you can imagine it's process that takes significantly longer than a simple enhancement.
Full paint correction requires the use of a variety of polishing compounds, machine polishing pads and often machine polishers themselves to take your paintwork as close to 100% perfection as can be achieved through detailing alone.
Let's look at a correction detail on 2 different cars, including a step-by-step guide on correcting gloss plastic trim...
Adding paintwork protection after any enhancement or correction detail is a must. This process not only safeguards the work you've already put in with your polishing, but further levels the optical finish of your paintwork to add even more gloss.
The main idea of protection is to shield the surface from the elements by stopping water and contamination from sticking and damaging the paintwork underneath. There are a few types of protection product you can use, and what you choose will always depend on how you use the car, the finish and durability you're looking for and, of course, personal preference on what you like to apply and how you want it to look. Essentially though, you'll be adding a protective layer over the top of surfaces that will create a barrier to the elements, make cleaning easier during routine maintenance and keep your car looking better for longer.
Here, as is the preference of the owner, we're applying one of our Signature Hard Waxes on paintwork, a ceramic coating on the glass and a specialist high temperature wax on the wheels.
Follow along with our step-by-step guide...
So far in this course we've tackled Decontamination, Enhancement, Correction and Protection, but now well look at how to maintain that flawless finish after you've been driving the car for any period of time.
Performing a routine maintenance detail is simply where you clean your car to keep it looking its best. A maintenance wash has no requirement for decontamination or any form of paint correction, it's designed specifically to remove any contamination that may have built up since your last detail. You can however top up protection after - and often during - your detail if you need to. The key point here though, is that it's crucial to carry out the process safely, not only to prevent causing damage to paintwork, but to keep your protection layers in tip-top condition.
Using protection-safe cleaning products and the correct professional methods is important to avoid inflicting scratches and swirl marks. And while we'll only complete an exterior maintenance detail as and when it's required, that will always depend on how often, and in what weather conditions, the vehicle is driven. In truth, there is no set timescale in which you have to clean your car but bear in mind that the longer you leave it, the bigger the risk of the most harmful types contamination degrading your protection. Bird droppings, road salt and bug splatter for example can eat through protection layers and into your paintwork or wheels if they aren't removed in a timely manner. But the good news is that, as long as you're using the right techniques and detailing products, you can clean your car as much as you want to.
Let's take a look at the whole process from start to finish...
As with any kind of car wash, we start with the dirtiest part of the car first. This is simply to prevent spreading the most harmful contamination to other cleaner, and potentially more sensitive, areas of the vehicle.
On routine maintenance - and by that we mean details where we're not deep-cleaning engine bays or the chassis - we'll always start by cleaning the wheels and tyres.
Wheels and tyres suffer from prolonged exposure to some of the most harmful contaminants found on the road. These include salt and brake dust, along with heavy grit and grime. Even on fully protected wheels we'll use powerful cleaning agents to safely lift and encapsulate these heavy particulates, allowing them to be rinsed away without abrading the surface.
Our main wheel cleaning agent here is Imperial Wheel Cleaner. This acid-free formula is safe to use on all powdercoated, painted and clear-coated wheels. For a little extra cleaning power and to help lubricate any heavy particles, allowing them to slip safely over and off the surface, we'll be brushing-in our Imperial using Revolution Wheel Soap. This wheel shampoo can be used as a powerful-stand alone wheel cleaner and is ideal for the most sensitive specialist finishes, such as chrome, bare metal and adonised wheels. But it's also ideal for making the most of your other spray-on cleaners when agitating.
To start the process we add a few capfulls of Revolution to a Detailing Bucket containing clean water and froth up the deep-cleaning suds with our pressure washer.
A deep-cleansing alloy wheel cleaner and wheel shampoo for your most precious alloy wheels, Revolution Wheel Soap is a powerful cleaner suitable for any wheel... See product details More
Before we apply any wheel cleaning agents we rinse down each wheel first. This pre rinse stage is carried out to remove any loose contamination that can be shifted through water pressure alone. This allows our cleaner to get to work where it's most needed - on the bonded grime - instead of being wasted on grime that could have been removed easily first.
After our pre rinse we apply our Imperial liberally over the wheel face and the inside the barrels. In this case we're using a Pressure Sprayer and a 1:10 dilution of Imperial Concentrate (available in 1 and 5-litre trade-size containers) but Imperial is also supplied ready-to-use in 500ml trigger bottles.
After leaving our Imperial to dwell for a minute or two (while its starts to break down the grime) we then use a Barrel Brush and our Revolution shampoo to agitate our cleaner into the wheel barrels.
An acid-free alloy wheel cleaner that can take your rims from shameful to sparkling on every single detail with our powerful. The go-to product for many a car... See product details More
When all other detailing brushes for your wheels seem to be falling short, the Barrel Brush uses every inch of its soft scratchless bristles to get deep into t... See product details More
Whether it's a Barrel Brush, Detailing Brush or the wash mitt we'll be using next, agitation here isn't about physically scrubbing away the grime. All we're doing by agitating our cleaners is first, ensuring that the solution reaches every area (especially the awkward ones) and second, making sure that any spent solution is refreshed when needed.
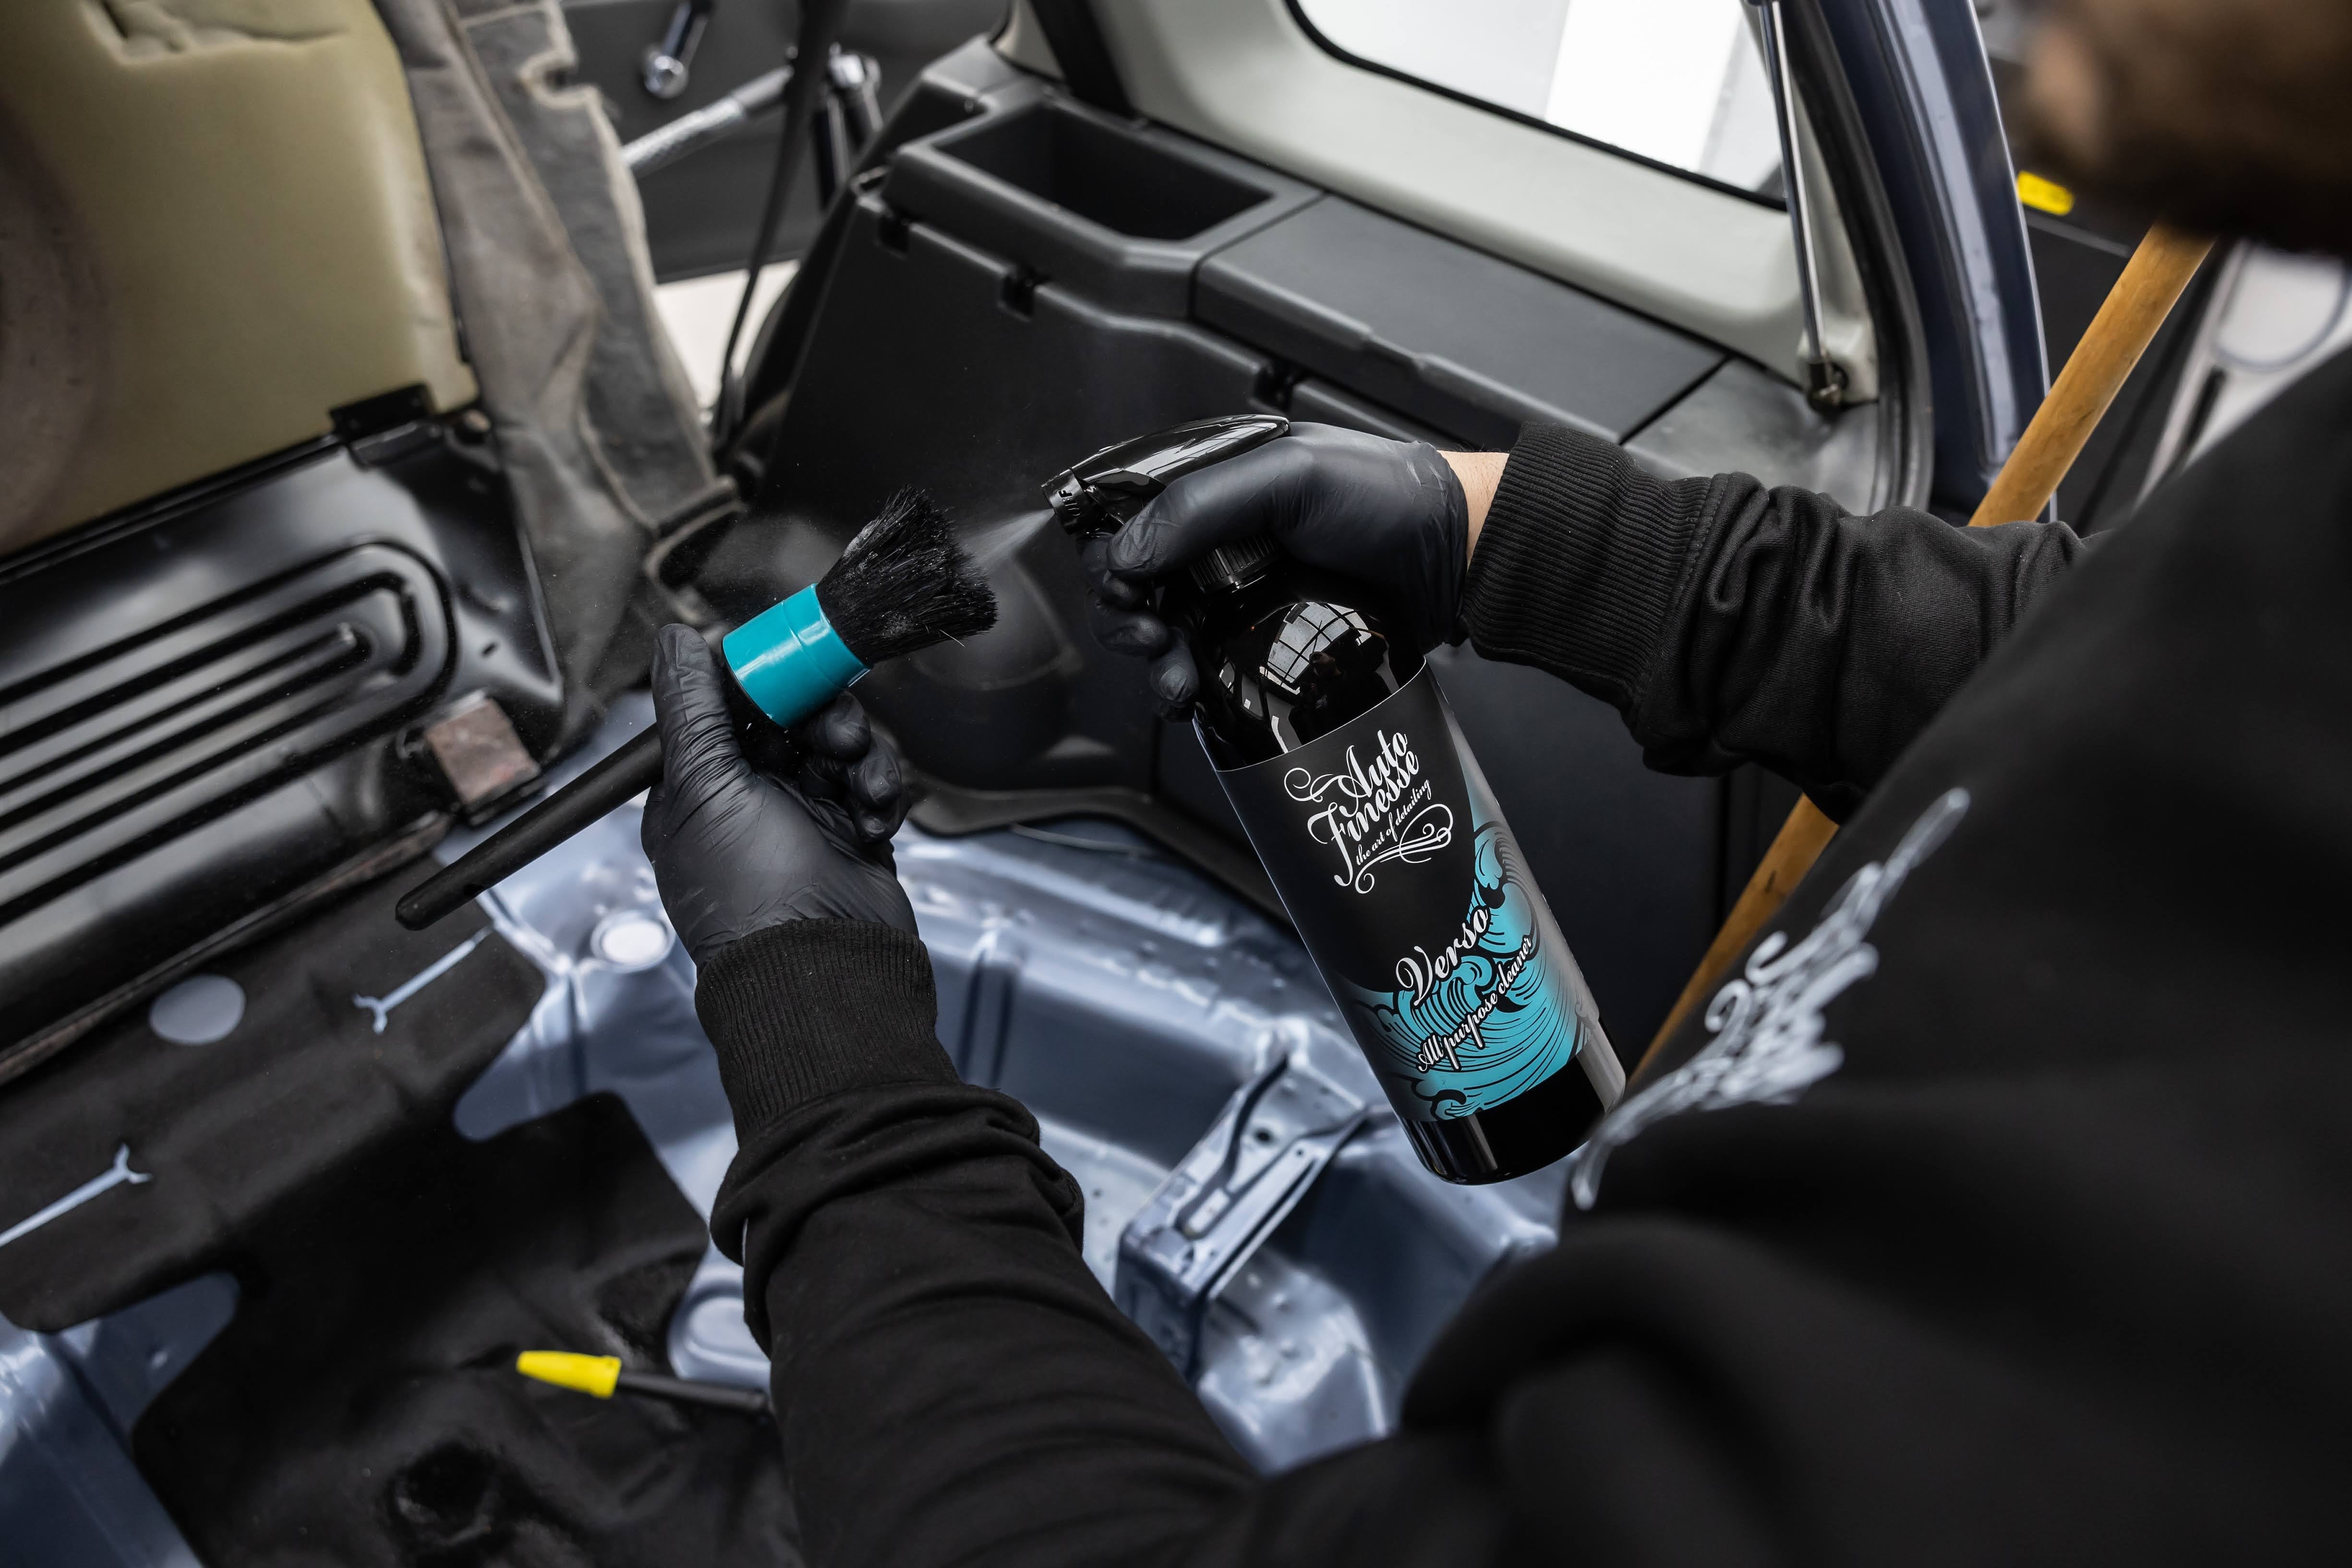
The surface-safe aqueous cleaning agents we use on cars, including acid-free wheel cleaners like Imperial (along with other cleaning products such as Lather Car Shampoo, Avalanche Snow Foam, Verso All Purpose Cleaner and Total Interior Cleaner), use a mixture of special surfactants and water to pull grime off of surfaces and surround the potentially harmful dirt particles in the solution. This allows them to be rinsed or wiped away without abraiding the surface. It all happens on a molecular level, but it stands to reason that any given volume of cleaner can only surround so much dirt. When agitating your cleaning products you're essentially moving away the solution that's full (or spent) and refreshing the area with solution that's yet to encapsulate the maximum amount of grime to work on any remaining contamination. In other words safe agitation isn't about mechanical cleaning, it's the best way to make the most of your cleaning products. That's the science of detailing.
Speaking of agitation, the second stage on our wheels is using a dedicated wash mitt - and by that we mean a mitt that we save just for cleaning wheels - to agitate our Imperial and Revolution around and behind the spokes.
The best wash mitt for safely cleaning wheels and getting the most from your wheel cleaning products, the Ultra Plush Wheel Mitt has been developed by professi... See product details More
Finally we can tackle any other awkward nooks and recesses using a scratch-free Detailing Brush. This last stage is ideal for agitating our wheel cleaners into nut recesses and wheel lips, and we also take the opportunity here to clean the brake calipers, too.
At this stage our wheel cleaning agents have made contact with every area of the wheel that's possible to reach.
Looking for the perfect detailing brushes for the detailing enthusiast? We've got you covered. We present to you the ultimate detailing brushes, complete as... See product details More
Before we rinse away our wheel cleaners, along with all the grime trapped in the solution, we move onto cleaning our tyres. This way we don't have to rinse the wheels twice.
Cleaning tyres is important, not only to keep them in the best condition but to help any tyre dressings bond properly when we come to our finishing touches at the end of our detail. Again we're using a surfactant-based cleaner and degreaser here, but one that's specifically designed for regular use on rubber. We developed Tread Tyre cleaner to shift the harshest contamination, but to remain kind to the surface. You can use a heavy-duty all purpose cleaner here, but using one on every detail could dry out and degrade the rubber itself. Utilising Tread solves this problem.
What is slightly different here is that we use a stiff Rubber Scrubber Tyre Brush for the agitation process. Unlike most areas on the car, we are physically scrubbing the tyres to draw out the dirt engrained in the sidewalls. But in this instance you're not going to damage the surface with a little scrubbing, so as long as you avoid the wheels themselves, it's the best way to clean these heavily contaminated areas.
While our Tread soaks into the sidewalls and further breaks down any contamination present we can move onto the inner arches.
Here we spray our tread into the arches and agitate. In most cases we'll use an Arch Blaster Arch Brush here, a medium stiff brush designed specifically for the job. This time around though, chiefly because this Golf has been substantially lowered, we swap to a Mini Barrel Brush for the best access. After all, that's detailing. You have to be adaptable to the needs of the specific car you're cleaning.
When all other detailing brushes for your wheels seem to be falling short, the Barrel Brush uses every inch of its soft scratchless bristles to get deep into t... See product details More
Now that we have cleaned the wheel, the tyre and the arch linings, we can rinse down the whole area from top to bottom to remove the grime.
Then it's just a case of completing the other three wheels with the same process before moving onto our pre wash.
The purpose of the pre wash stage is to remove as much dirt and grit as possible before we make any contact with the bodywork. Doing so helps us to minimise the chance of dragging harmful particles around with our wash mitt, inflicting swirl marks on the most sensitive surfaces such as paintwork and gloss plastic trim.
Once again, before we use any cleaning agents, we give the whole car a thorough rinse down to remove the loose grime. Here we'll also make sure we flush out any panel gaps, mirrors grilles and fuel flaps.
Now we can use Citrus Power Bug & Grime Remover to break down and lift the bonded, large particle contamination. This advanced pre cleaner may be powerful, but it's also wax, sealant and coating safe. So, it won't ever strip away your protection layers, and this makes it ideal for use on every maintenance detail.
What's most important about this part of the pre wash stage is that it's entirely contact-less. We don't agitate our Citrus Power, we just make sure we get plenty on there. This ready-to-use cleaner is designed for use on all exterior surfaces, so we spray it liberally over the entire vehicle and allow it to dwell while it breaks down the grime. The only thing to remember here is not to let the product dry, it needs to stay wet to do its job.
After a little dwelling we can rinse the car down from top to bottom.
Citrus Power bug & grime remover is a versatile citrus pre-wash an essential that no car detailing kit should ever be without. Designed to aid the perfect... See product details More
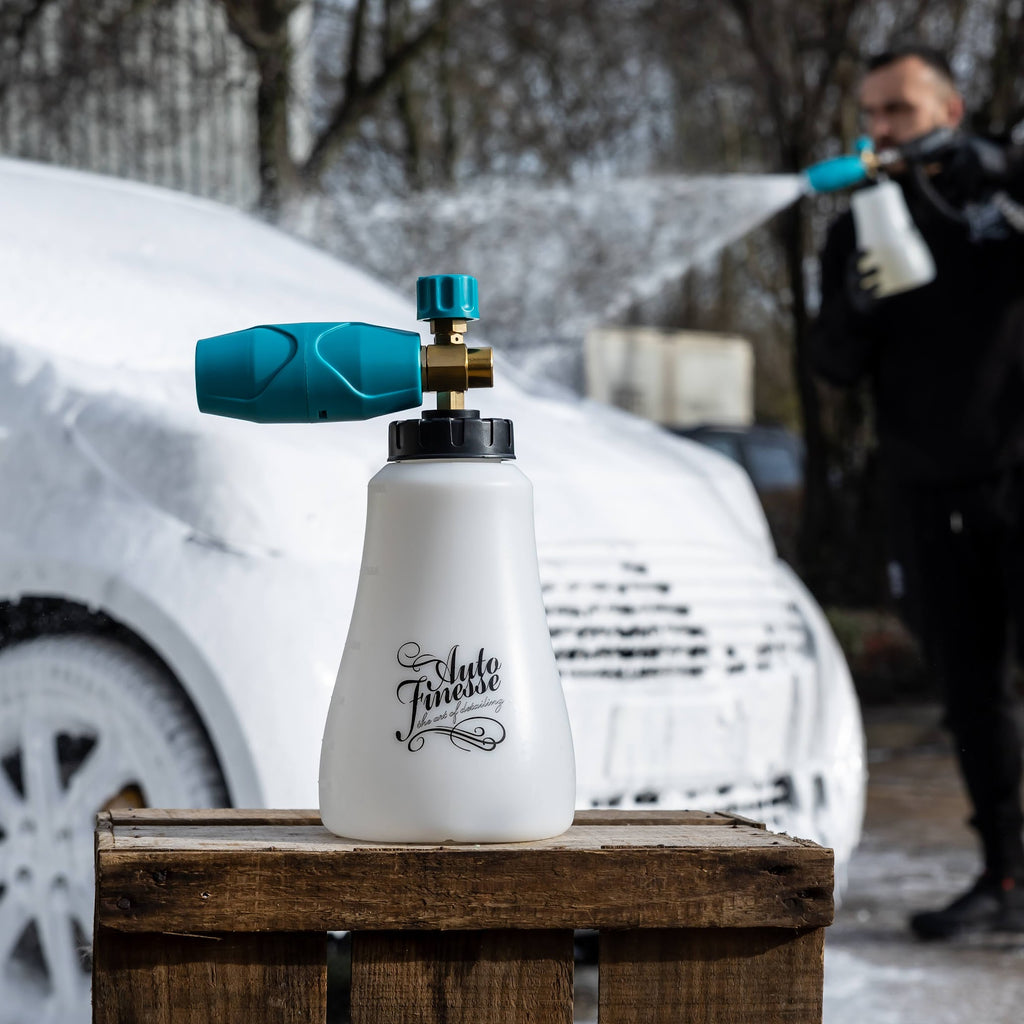
The final step in our pre wash stage is using Avalanche Snow Foam to break down the bonded small particle contamination. Snow foam is classed as a pre cleaner, but because it's applied with a Snow Foam Lance designed to activate the cleaning agents and whip it up into a foam, what you get is a cleaner that lingers on surfaces for the maximum amount of time possible. The more a cleaner lingers on the surface, the more contamination it can break the bonds of and surround it in the solution. Snow foam also works its way into grilles, shuts and and panel gaps, cleaning those, too.
To prepare our Avalanche we add around 200ml (about an inch in the bottom) to our Snow Foam Lance bottle and top up with clean water. You can do this at the tap of course, but we find that dipping in a bucket of clean water helps to keep the concentrated solution from foaming prematurely.
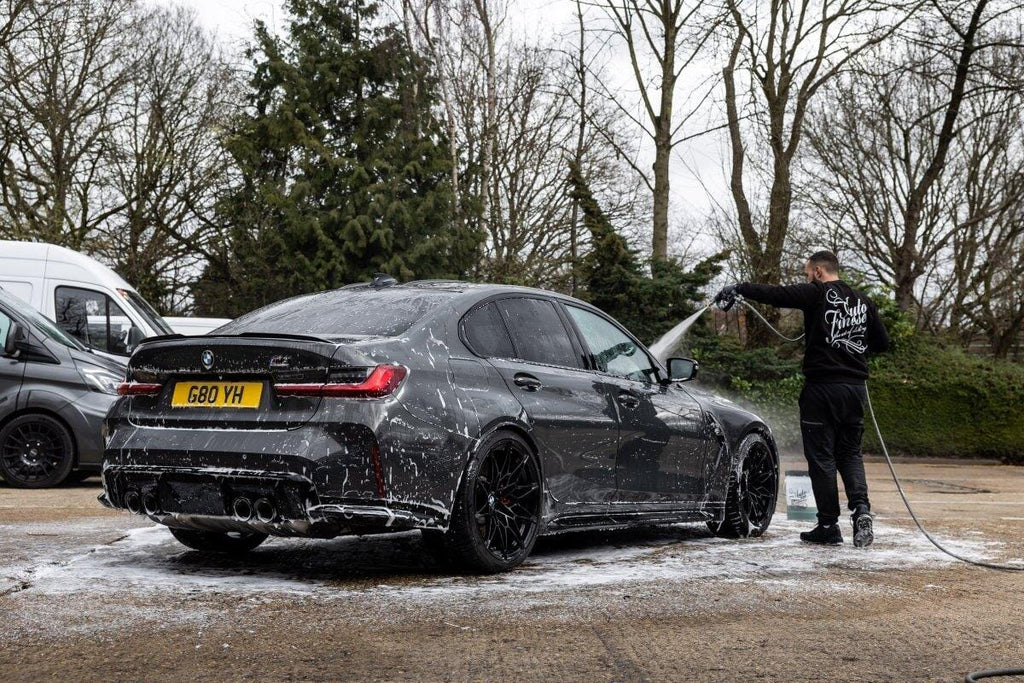
After attaching the bottle to the rest of the lance, and then to the pressure washer, we can apply our Avalanche to the whole car from the top down.
You may have seen detailing videos saying apply your foam from the bottom up, but we don't recommend carrying out the process that way around. Cars typically tend to be dirtier at the bottom, applying from the bottom up risks spreading the grime upwards, exactly the opposite of what we're trying to achieve.
When the whole car is covered, we allow our foam to dwell.
We leave our snow foam to dwell as long as possible, but crucially without letting it dry. A good pro tip here is to keep an eye on the windows because it tends to dry out there first.
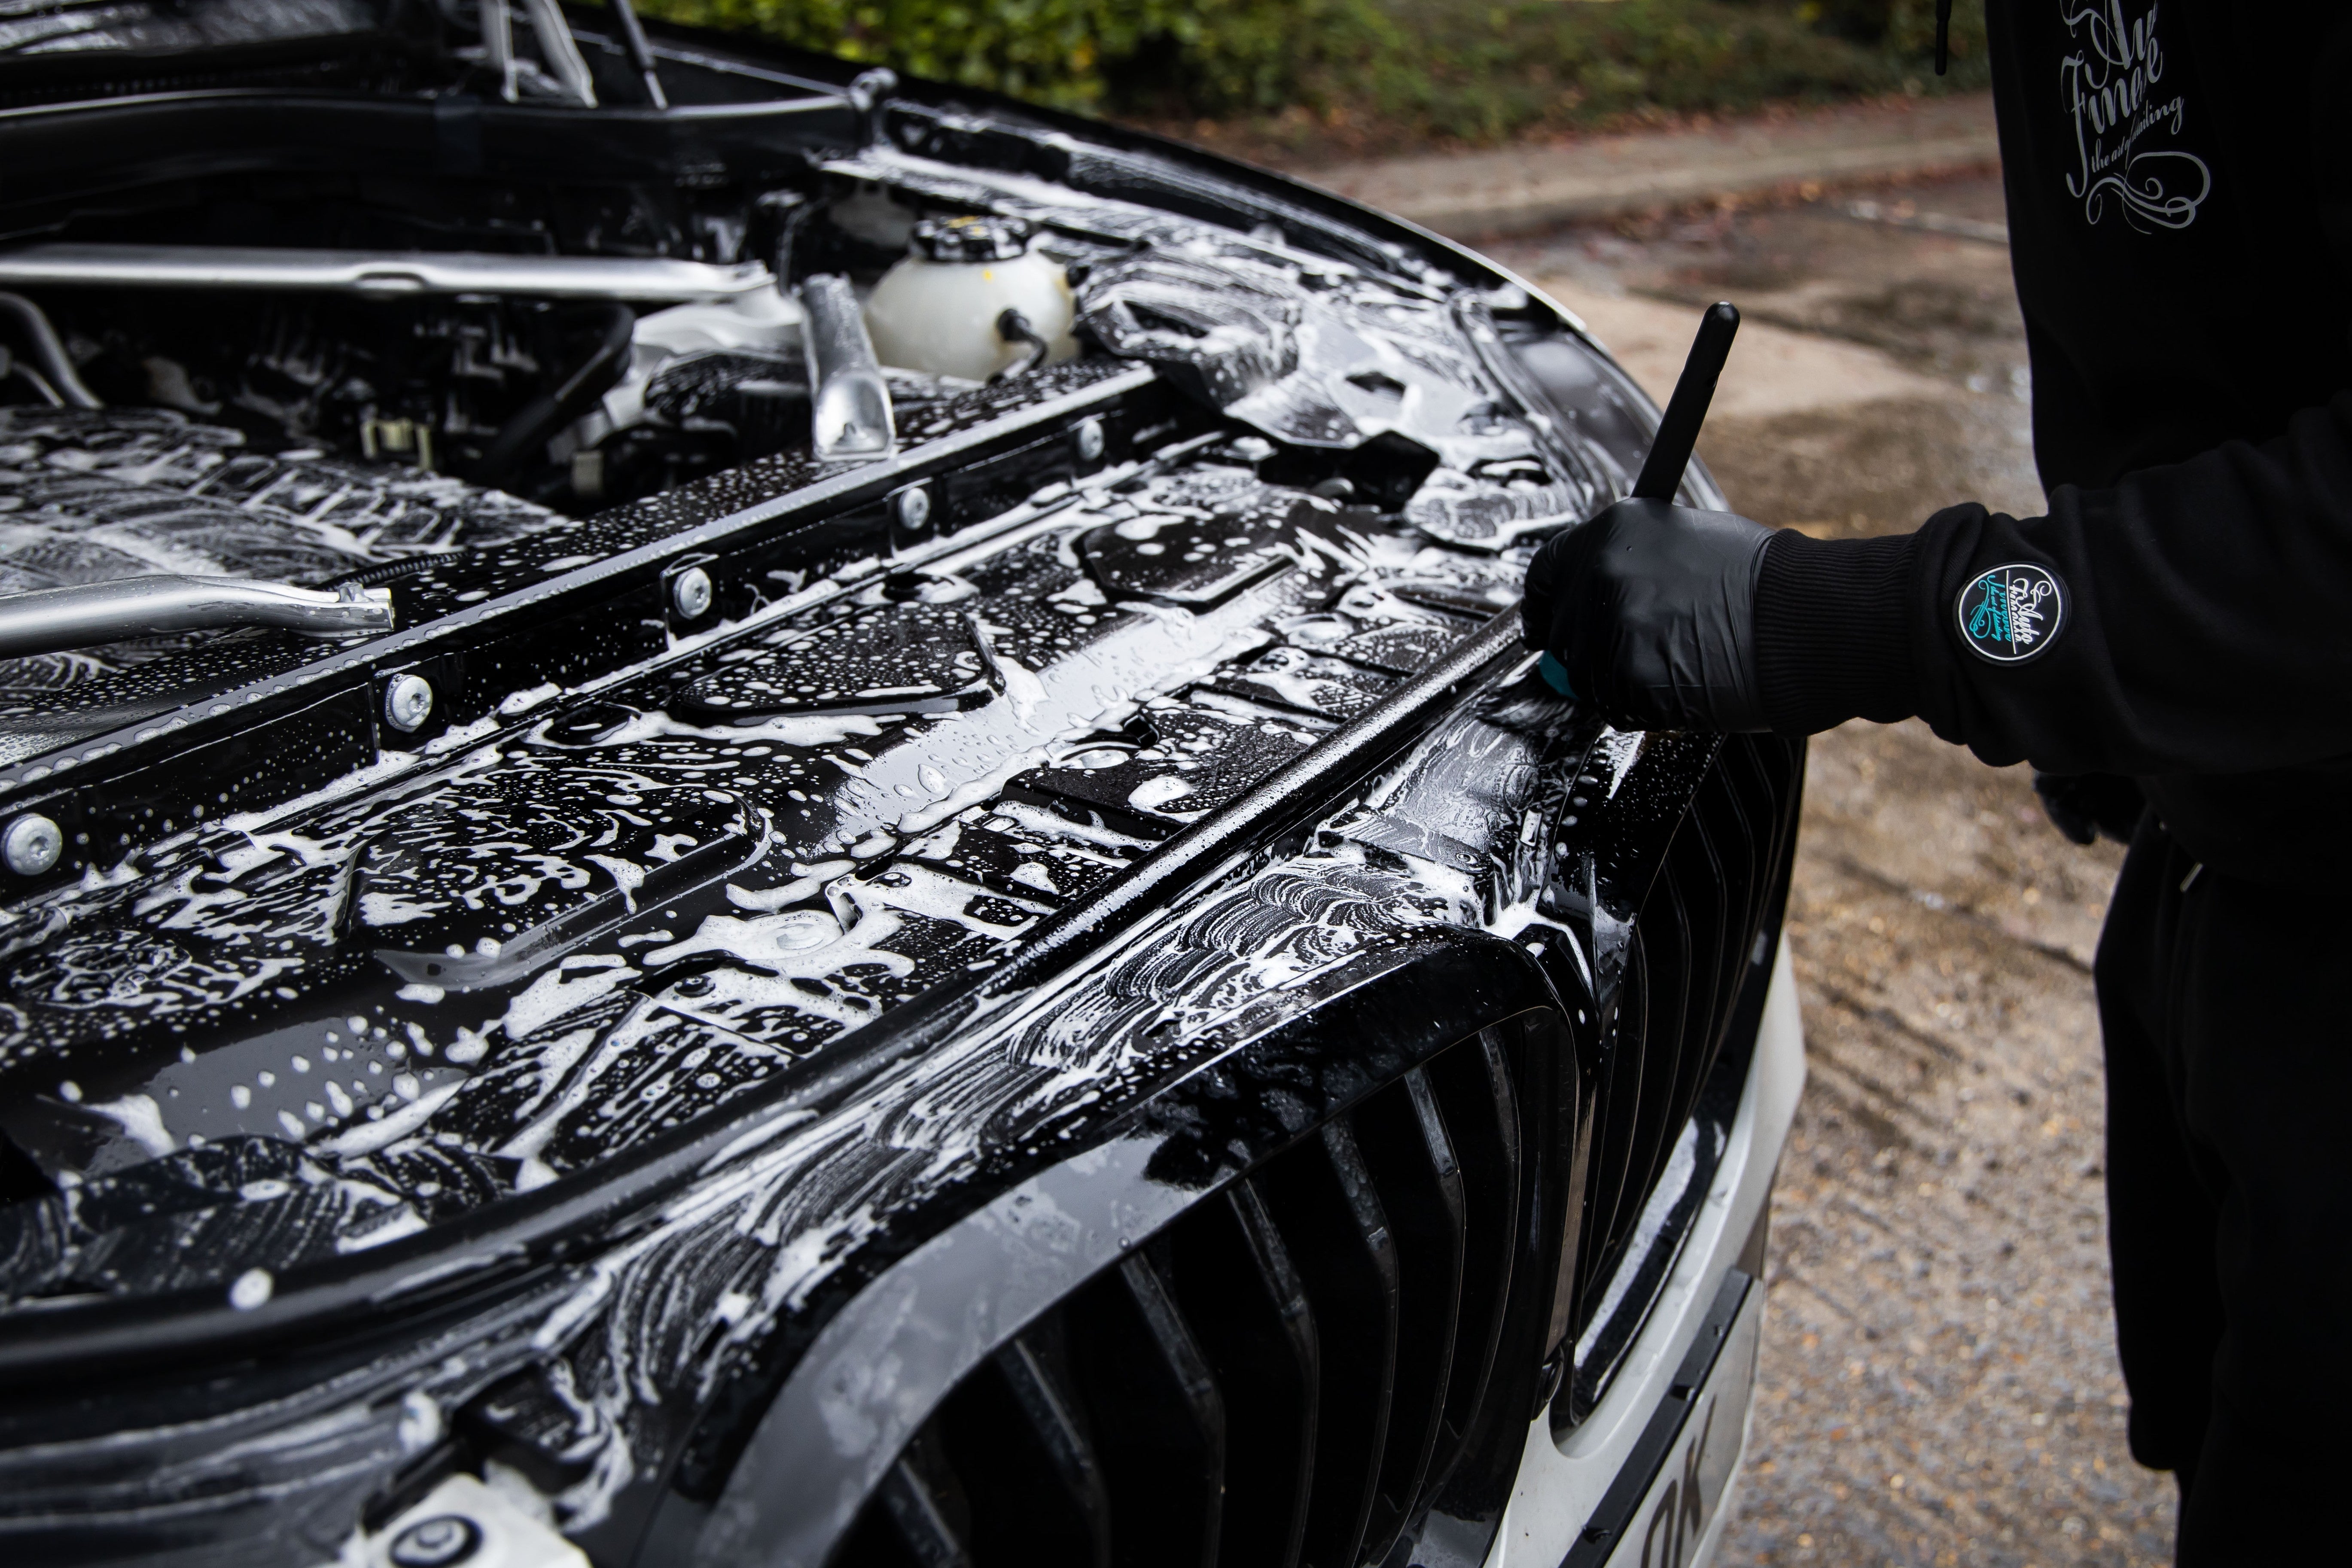
Although for the most part the snow foam stage is designed to be contact-less, you can (only when needed) agitate around awkward recesses and dirt traps - such as window rubbers, headlights, grilles and badges - using a soft Detailing Brush. Assuming you've already used a pre cleaner to eradicate any large particles, it's safe to do that here while your foam is dwelling, just as long as you avoid large painted panels.
When your snow foam starts to dry out on the glass rinse the whole car down, again from top to bottom.
Even though we've already taken away much of the risk with our pre wash stage, there's still a few safety precautions we take during our contact wash. Again, this is simply to ensure that the results are swirl-free, and that we don't degrade any protection layers.
The first, and simplest, is using two buckets for the entire process. One 'Wash' bucket for our shampoo solution, and the other 'Rinse' bucket for wringing our our wash mitt after every pass on the vehicle. This measure significantly cuts down on the risk of grime being recirculated back onto the paintwork as you wash. Here we're also using our professional Detailing Buckets to further improve our odds, these not only contain a grit guard to stop your mitt picking up any heavy particles that may have sunken to the bottom, but they have a huge 20-litre capacity to further cut down on the chance of particle recirculation.
Another precaution is selecting the right shampoo for the job. All good car shampoos - like our Lather Car Shampoo and the Caramics Enhancing Shampoo we're using here - should not only clean, but act as a lubricant, allowing any grit to slip freely over the surface without scratching. Our car shampoos are also protection-layer safe, meaning that instead of harsh chemicals, they're pH neutral, and utilise powerful surfactants to break down and encapsulate bonded grime.
In most cases Lather Car Shampoo is our go-to product. This powerful formula contains no waxes or shining agents, so its used simply to clean away contamination. In this case though, because this particular car already has a ceramic coating for protection, we can opt for our Caramics Enhancing Shampoo.
Again, what we have is a powerful cleaner, but this product also contains a ceramic coating that can be used to strengthen and prolong the life of the protection that's already there. It's used in exactly the same way as Lather, it simply comes with the bonus of topping up the ceramic layer.
To prepare our deep-cleaning suds we add two or three capfuls of shampoo to our bucket and froth up with our pressure washer.
As car detailing products advance so do the most basic of products, you may be thinking how can a shampoo be different, well your about to find out: Caramics E... See product details More
Picking the correct wash media is another way to keep the process safe and elevate the results of your contact wash. We recommend using one of our professional mitts for a number of reasons, the main one being that an industry quality wash mitt, whether it's made from lambswool or microfibre, is designed to pick up dirt, rather than merely spreading it around like a sponge.
A good wash mitt should glide freely over the surface, agitating your wash solution while lifting contamination and locking it away deep in the material - crucially away from the most sensitive surfaces. The dirt particles should only be released when you wash out your mitt in your rinse bucket.
Equally the mitt you like to use is also down to detailer's preference, here we're using a Plush Microfibre Mitt, which is ideal for safe washing and soaking up lots of cleaning solution for every pass.
The last safety measure is the route you take around the vehicle. Washing in straight lines (to further cut down on the risk of inflicting swirls) we always start with the cleaner areas to avoid spreading heavier particles up to areas with less soiling. Essentially we'll wash the car from the top down, starting with the roof bonnet and upper sides.
After the lightly soiled areas we move on to the (typically) dirtier areas, starting with the grilles and front bumper, then the lower sides and finally the rear of the car.
In the interests of increased safety - especially on the most soiled vehicles - many detailers like to swap to another dedicated mitt for these areas. Here we're using a microfibre Noodle Mitt which is made up of hundreds of long fingers that are particularly adapt at getting into then most awkward recesses.
Once we've contact washed every surface, we can give the car a final rinse from the top down.
Finally we can move onto the drying stage and (as you've already read in our decontamination detail at the beginning of this course) you'll already know that it's important to dry your vehicle after every wash to avoid the impurities in your tap water being left on the paintwork. The last thing we need now is unnecessary water marks.
This time around we're using our Silk Drying Towel, a super-speedy, twist-loop microfibre cloth designed to soak away water quickly and efficiently. Again, this is down to detailer preference, an Aqua Deluxe Drying Towel will also be safe, fast and affective.
When drying wheels, and for mopping up any drips that may be dislodged from the mirrors and the like, we switch to a super absorbent Ultra Plush Microfibre Cloth. This is a great professional tip because full size drying towels have to be large enough to complete a whole car or two, so using a smaller cloth here helps you avoid accidentally dragging your drying towel on the floor and having to throw it away. Our 800GSM Ultra Plush is comparable when it comes to absorbency, but more controllable for targeted use here.
With the vehicle fully dry, technically speaking at least, our maintenance wash is complete. But with that said, detailing is all about the finer details, and there's a few finishing touches we recommend for every time you wash.
These ultra plush microfibre cloths are 800 GSM and perfect for use with our detailing sprays, and spray waxes, also residue left by our signature waxes. The d... See product details More
The finishing touches you carry out now will always depend on the specific car in question and what's required to push your detail to the next level. This could be a little Mercury Metal Polish on exterior brightwork, or Revive Trim Dressing to give a new lease of life to matte plastic trim.
There are however two finishing touches we recommend for every single detail, and the first is dressing your tyres.
Using Satin Tyre Crème here isn't just about looks, this product is designed to nourish and condition your tyres from within and to leave a long lasting barrier to the elements. Because we thoroughly cleaned our tyres earlier, too, our Satin will bond strongly helping it to last even longer.
Of course it doesn't hurt that Satin also looks great. This advanced dressing allows you to choose the level of shine you require. A single application gives a subtle satin-sheen, while multiple applications allow you to build up a glossy wet-look.
Application is extremely straightforward. We first apply the satin to our contoured Tyre & Trim Applicator, and then apply the product to the sidewalls. Here we're being sure to cover every inch but avoiding the wheel lips as we go. A single line of Satin down your applicator is enough to cover a whole sidewall.
The final finishing touch we recommend for every detail is cleaning your windows inside and out. All we're aiming to achieve here to to ensure our glass is smear and streak free so it doesn't draw the eye, or detract, from the rest of our detail.
Our go-to product, Crystal Glass Cleaner, is a fast flashing solvent-based formula that quickly cuts through grease, grime and fingerprints to leave a streak free finish, and we could use it here to finish our, or any other, detail quickly and effectively.
But, because the glass is already protected with the 12-month durable ceramic coating in our Caramics Glass Protection Kit - and much in the same way as we used or Caramics Enhancing Shampoo on the paintwork earlier - we can use Caramics Glass Cleaner here to not only get a streak-free finish but to boost the life and performance of the coating.
As with Crystal, using Caramics Glass Cleaner is extremely quick and easy - all it takes is a light spritz directly on the glass, followed by a wipe and a buff with a clean microfibre cloth.
Caramics ceramic infused Glass Cleaner takes car detailing products to the next level, and is the quick and easy way to clean, protect and enhance the performa... See product details More
And there we have it, our Maintenance Detail is complete!
As you can see it's a simple, fast and effective way to maintain your vehicle between those bigger details.
Congratulations on completing the Five Detailing Stages You NEED To Know Course!
Before you go, don't forget to have a peek at some extra resources that you can take advantage of right now to continue your learning. We have a whole selection of online resources in the Guides section of our blog.
We welcome your feedback and hope you've enjoyed the course. Don't forget to shout about your new skills and knowledge, and share your progress on Social Media, too!
If you have any questions after you go, please don't hesitate to send an email to support@autofinesse.com