Five Detailing Stages You NEED To Know Course
From single-stage enhancements and maintenance details right through to full multistage corrections, adding protection and revitalising any interior follow our course to learn what you need to know.

 Skip to content
United Kingdom
A full half-century of professional tricks and tips put together specifically to push your detailing to the next level… and way beyond. The 50 Detailer Top Tips Course is suitable for all skill sets and detailing levels from novice right up to experienced professional, offering the very best industry tricks and trade secrets to help you keep your detailing fresh at every turn.
For this extra special addition to our training course line-up, we tasked our team of professional detailing instructors and customer service experts to share an epic collection of their all-time favourite detailing hacks, covering every conceivable detailing product and process from polishing and sanding damaged paintwork to deep-cleaning the muskiest seats. We've also compiled a multitude of small, indispensable touches and tricks that can add up to make a huge difference to any detail.
Put together in bite sized chunks, our 50 top tips covers a full range of subjects including: How to improve the durability of your tyre dressings. Creating your own stand-out carpet art. What vacuum attachments you shouldn’t throw in the bin. How to organise your microfibre cloths. Making the most of your hard wax. The best way to avoid activating your snow foam before application. Why it’s a good idea to take photos during your paint correction. And, how to prevent mould build up on little-used cars and other vehicles in storage.
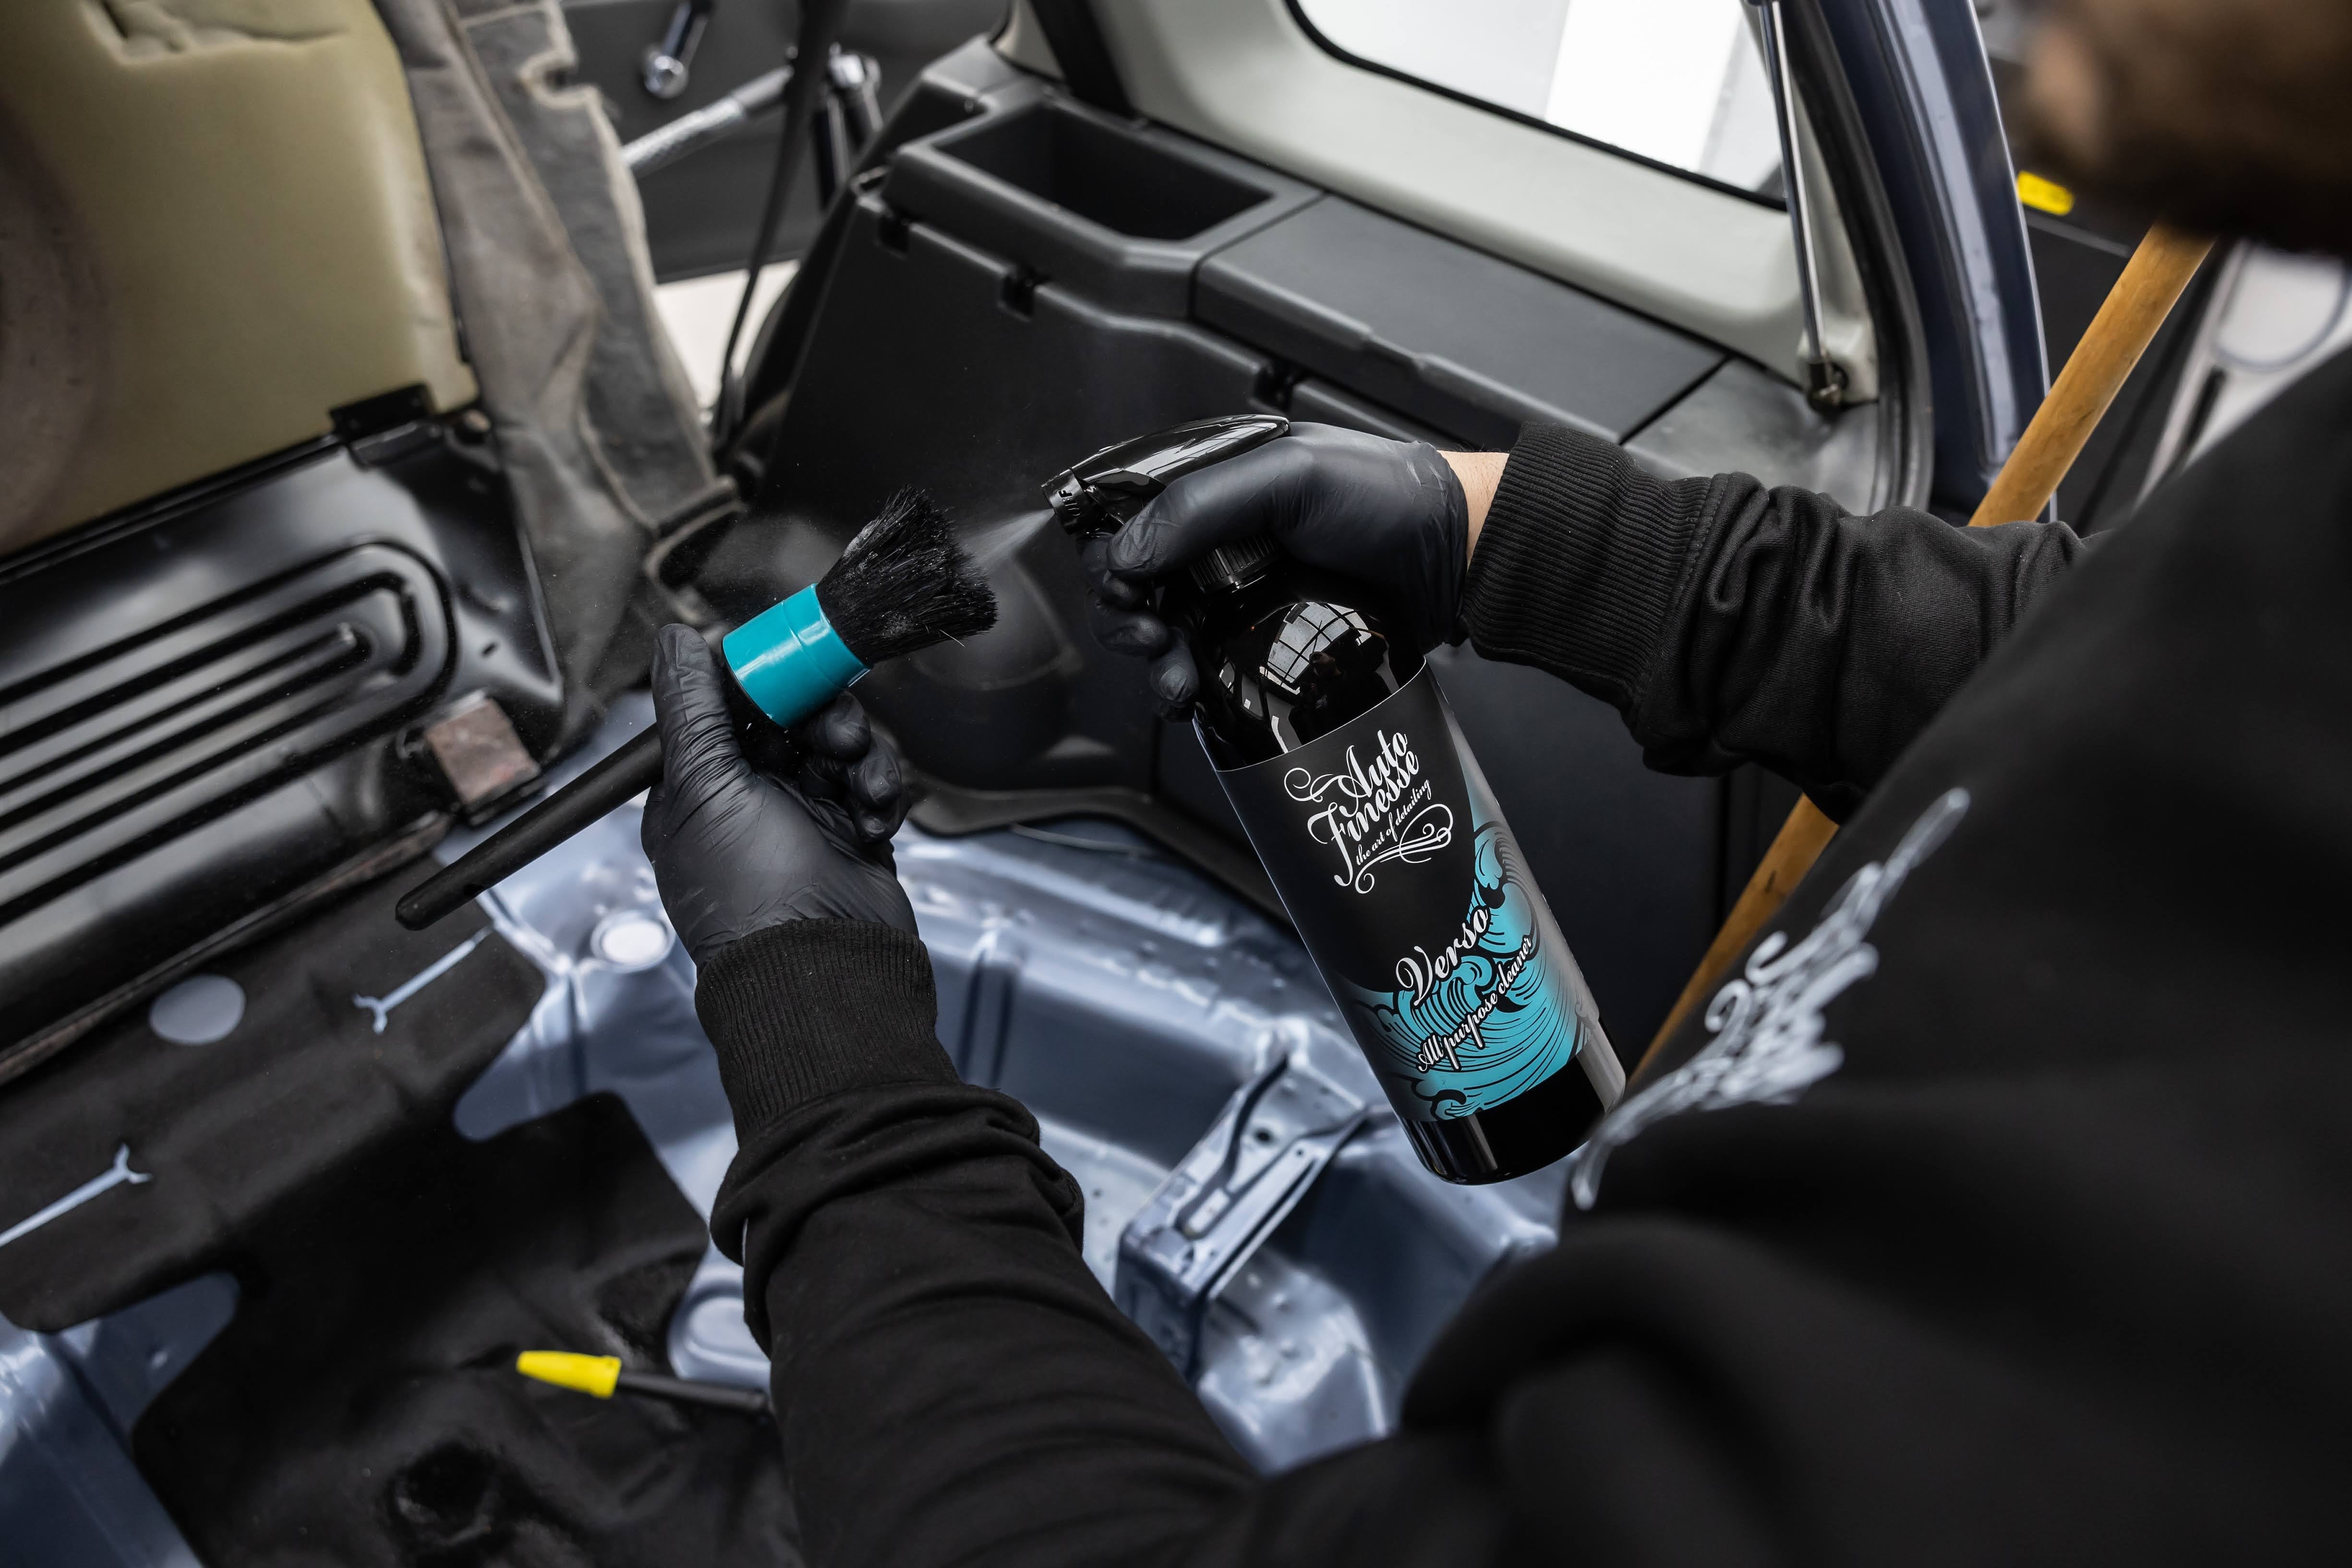
We’ve also taken some of our most popular - not to mention most versatile - products and accessories in the Auto Finesse Range, detailing essentials such as ObiTARate Tar & Glue Remover, Verso All Purpose Cleaner, Iron Out Contaminant Remover and our Barrel Brush Wheel Brush, and put them in the most unexpected situations, showing you exactly how they can be used for an extended range of tasks that you may not have even thought of.
An indispensable compilation of shared skills, experience and knowledge from our industry professionals covering everything from the best-kept secret to saving your time, product and hard earned cash, to the things you really don’t want to miss when cleaning your crevices - our 50 Detailer Top Tips really does have it all… and much, much more.
So, without further ado, let's take a look at our fifty quick-fire top detailing tips...
Cleaning your tyre sidewalls on every maintenance detail is a must. Not only will this make your tyre dressings - such as Satin Tyre Creme or Gloss Tyre Dressing - look even better, but they'll be able to form a stronger bond for the best in long-lasting durability.
Clean your tyres every time you wash your wheels using Tread Tyre Cleaner and a stiff brush like our Rubber Scrubber Tyre Brush. All it takes is a few spritzes and a quick scrub to draw our the dirt, and then you can simply rinse the grime away.
Stubborn dirt or carbon build up on your exhaust tips? You can eliminate this quickly and easily at the beginning of the wash stages, at the same time as you clean your wheels.
A little Iron Out Contaminant Remover agitated onto tips with a Detailing Brush will cut through stubborn staining with ease. Using a Barrel Brush you can also get right inside your exhaust for an even better all-round clean.
Don't worry if you forget though, if you're at the end of your detail and the car is already dry, a little Verso All Purpose Cleaner and some wire wool will have much the same effect. Then you can follow up with some Mercury Metal Polish to bring on the shine.
One of the most commonly-missed areas when interior valeting is the inside of the air vents.
Over time dust, moisture and bacteria can build up causing odours to circulate through the cabin whenever they’re in use. This can be especially obvious in the summer when you first turn on your A/C after a long winter.
The solution is simple, a quick spritz or two of Total Interior Cleaner (every time you detail your interior) will help break down grime and eliminate the nasty stale odours. You can even follow up with a spritz of our Aroma Air Freshener Pump Sprays for the ultimate in interior freshness.
It's a simple one this, but a top tip that many forget.
In the final stages of your detail - when you're breaking out the Crystal Glass Cleaner - to clean your windows inside and out, always roll down the windows first. This way you can get to the top of the glass and inside the rubber trims, which are notorious dirt traps. It's even better if you need to clean behind aftermarket wind deflectors.
Then you can roll them back up and complete the rest of the glass as normal.
Remember that your vacuum cleaner crevice tool is your best friend. So, if you haven't got one (or you've put yours in the bin) get yourself a new one and make sure you keep it in good condition to prevent scratching any parts of your interior. In other words, don't go dragging your tools on the floor and sharpening the tips.
Your crevice tool not only amplifies the vacuum a little, but enables you to get into the awkward areas where the cleaner pipe cant reach or, even worse, will need to be forced in potentially damaging soft materials and scratching hard plastics.
After you've vacuumed away any loose dirt and dust, always follow up with some Total Interior Cleaner to remove the ground-in grime and get you the ultimate interior detail.
We all know it's important to use a suitable drying towel to absorb surface water after every wash. This stops the impurities in the tap water from being left on the surface as water spots. But what about those annoying drips that rear their head after you dry?
The best way of getting drips out from panel gaps, mirrors and lug nuts will always be using a professional air blower. But don't worry if you haven't got one, because you can also shake the car, or jump in and move it backwards and forwards, to get the drips out ready to be mopped up. This way they won't come out later and interfere with your polishing, protection layer application or leave spots on your fresh paintwork.
We always recommend using a professional applicator - such as our Tyre & Trim Applicator or Tyre Spot Pad - to cleanly and evenly apply your tyre dressings at the end of your detail. Even when you're using spray-on products.
The key to success for low-profile tyres though, is to never let your applicators touch the ground - you don't want to pick up any grit and grime here, right?
To cut out the risk, apply your dressing to all four tyres but make sure you stop short of the bottom. For example apply your dressing from 8 o'clock to 4 o'clock.
The you can roll the car forward and complete the last portion on each tyre.
Seatbelts are often forgotten during interior details, but due to constant human contact these can hold onto more grime and odours than any other area inside your cabin.
Pulling out your belts (and buckling them up if you want to make life even easier) is a must for cleaning them on every interior detail. Then you can spray on a little Total Interior Cleaner and wipe away the grime and nasty niffs with a fresh microfibre Work Cloth.
It's an obvious one for sure, but you'd be surprised how many people don't!
The instructions are there for a reason - to make sure you get the best possible results in the safest way. Before you try any new product just take a little time to read through the instructions on or inside the packaging. Read them all the way through before you start, that way you just can't go wrong!
Our Signature Hard Waxes offer the ultimate in wax protection, but always remember that a little goes a long way.
The best way to apply a hard way is thinly and evenly using a soft professional applicator. Our Waxmate XL and Wax Spot Pads are even designed to fit snugly into the tin!
Just a quarter turn in you wax tin will be enough to coat a whole large panel. It's ony a thin layer that bonds to paintwork and any more wax than that will be removed when you final buff. In other words caking it on there thickly doesn't give you more gloss or protection, it's essentially wasting your wax.
Instead wait for 3-4 hours for the first layer to fully bond, and then add a second coat for extra gloss and protection.
Our huge selection of microfibre cloths aren't a host of different colours because we think that makes them look pretty, it's for easy identification in your detailing kit.
Knowing the best cloths to use is just one part of detailing, in many cases you can use specific colour cloths for specific tasks to avoid cross contamination. This could be using white Work Cloths for interior cleaning or buffing ceramic coating, residues and teal Work Cloths for Exterior cleaning or decontamination tasks. Find a method that works for you and keep those cloths separate.
And don't forget that there are many premium cloths in our range that are geared towards specific tasks, too. Whether that's our Micro Tweed for the safest wax residue removal, our Glass Waffle for glass polishing, or our super-soft Primo Plush for final finishing, we have the best microfibre towel to push your detail to the next level.
Your wheels are like any other part of your exterior, they need to be dried after any wash to avoid water spots. You can of course use a drying towel for this task, but in most cases it's much easier to use our Ultra Plush Microfibre Towel.
Drying towels are very large because they have to be able to soak up the water from a whole car (or multiple vehicles). This means that you have to be extremely careful not to drag them on the ground when drying wheels and sils. Once a microfibre towel has picked up harsh grit off of the floor, it's almost impossible to make it safe for use on paintwork again. You might as well throw it in the bin.
So, when drying these lower areas, it makes sense to swap to a smaller cloth that's more controllable. Our 800GSM Ultra Plush is ideal here because it's super soft, offers the same kind of absorbency as a drying towel and is much more compact.
It stands to reason that the parts of your interior that see the most contact with your hands will be the dirtiest. In fact, you can pretty much guarantee that your steering wheel rim will be dirty, and that's just through normal driving. Leather and suede wheels can be some of the worst for holding onto body oils and other contamination.
We recommend deep cleaning any steering wheel periodically but, don't worry, it's an easy process.
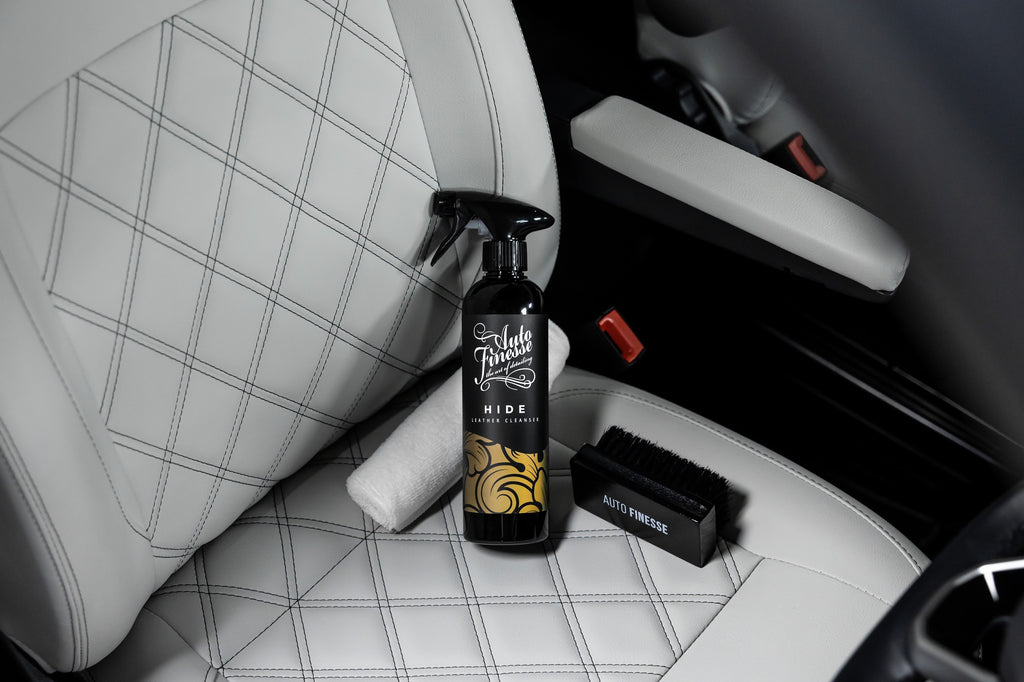
Lay a microfibre cloth behind the rim, and then you can spray your cleaning agent - such as Total Interior Cleaner or Hyde Leather Cleanser - directly onto the wheel, before working in with a soft Detailing Brush. Finally give the whole rim a good, firm wipe down with a microfibre Work Cloth and you'll be surprised just how much dirt has been drawn out.
When cleaning interiors, especially inside your boot, it's all too easy to get carried away with your vacuum cleaner and leave the pipe dangling to rub on bodywork. We've seen many a detailer accidentally abraid exterior surfaces over the years, even after they've spent hours machine polishing!
The simple solution is protect the area or secure the hose out of the way, either shielding the portion of the exterior at risk with a microfibre towel, or even popping the pipe between your legs for more control.
After your vacuum, when you get to cleaning with your cleaners and accessories, just be aware of where you're leaning or what you're rubbing with your clothing.
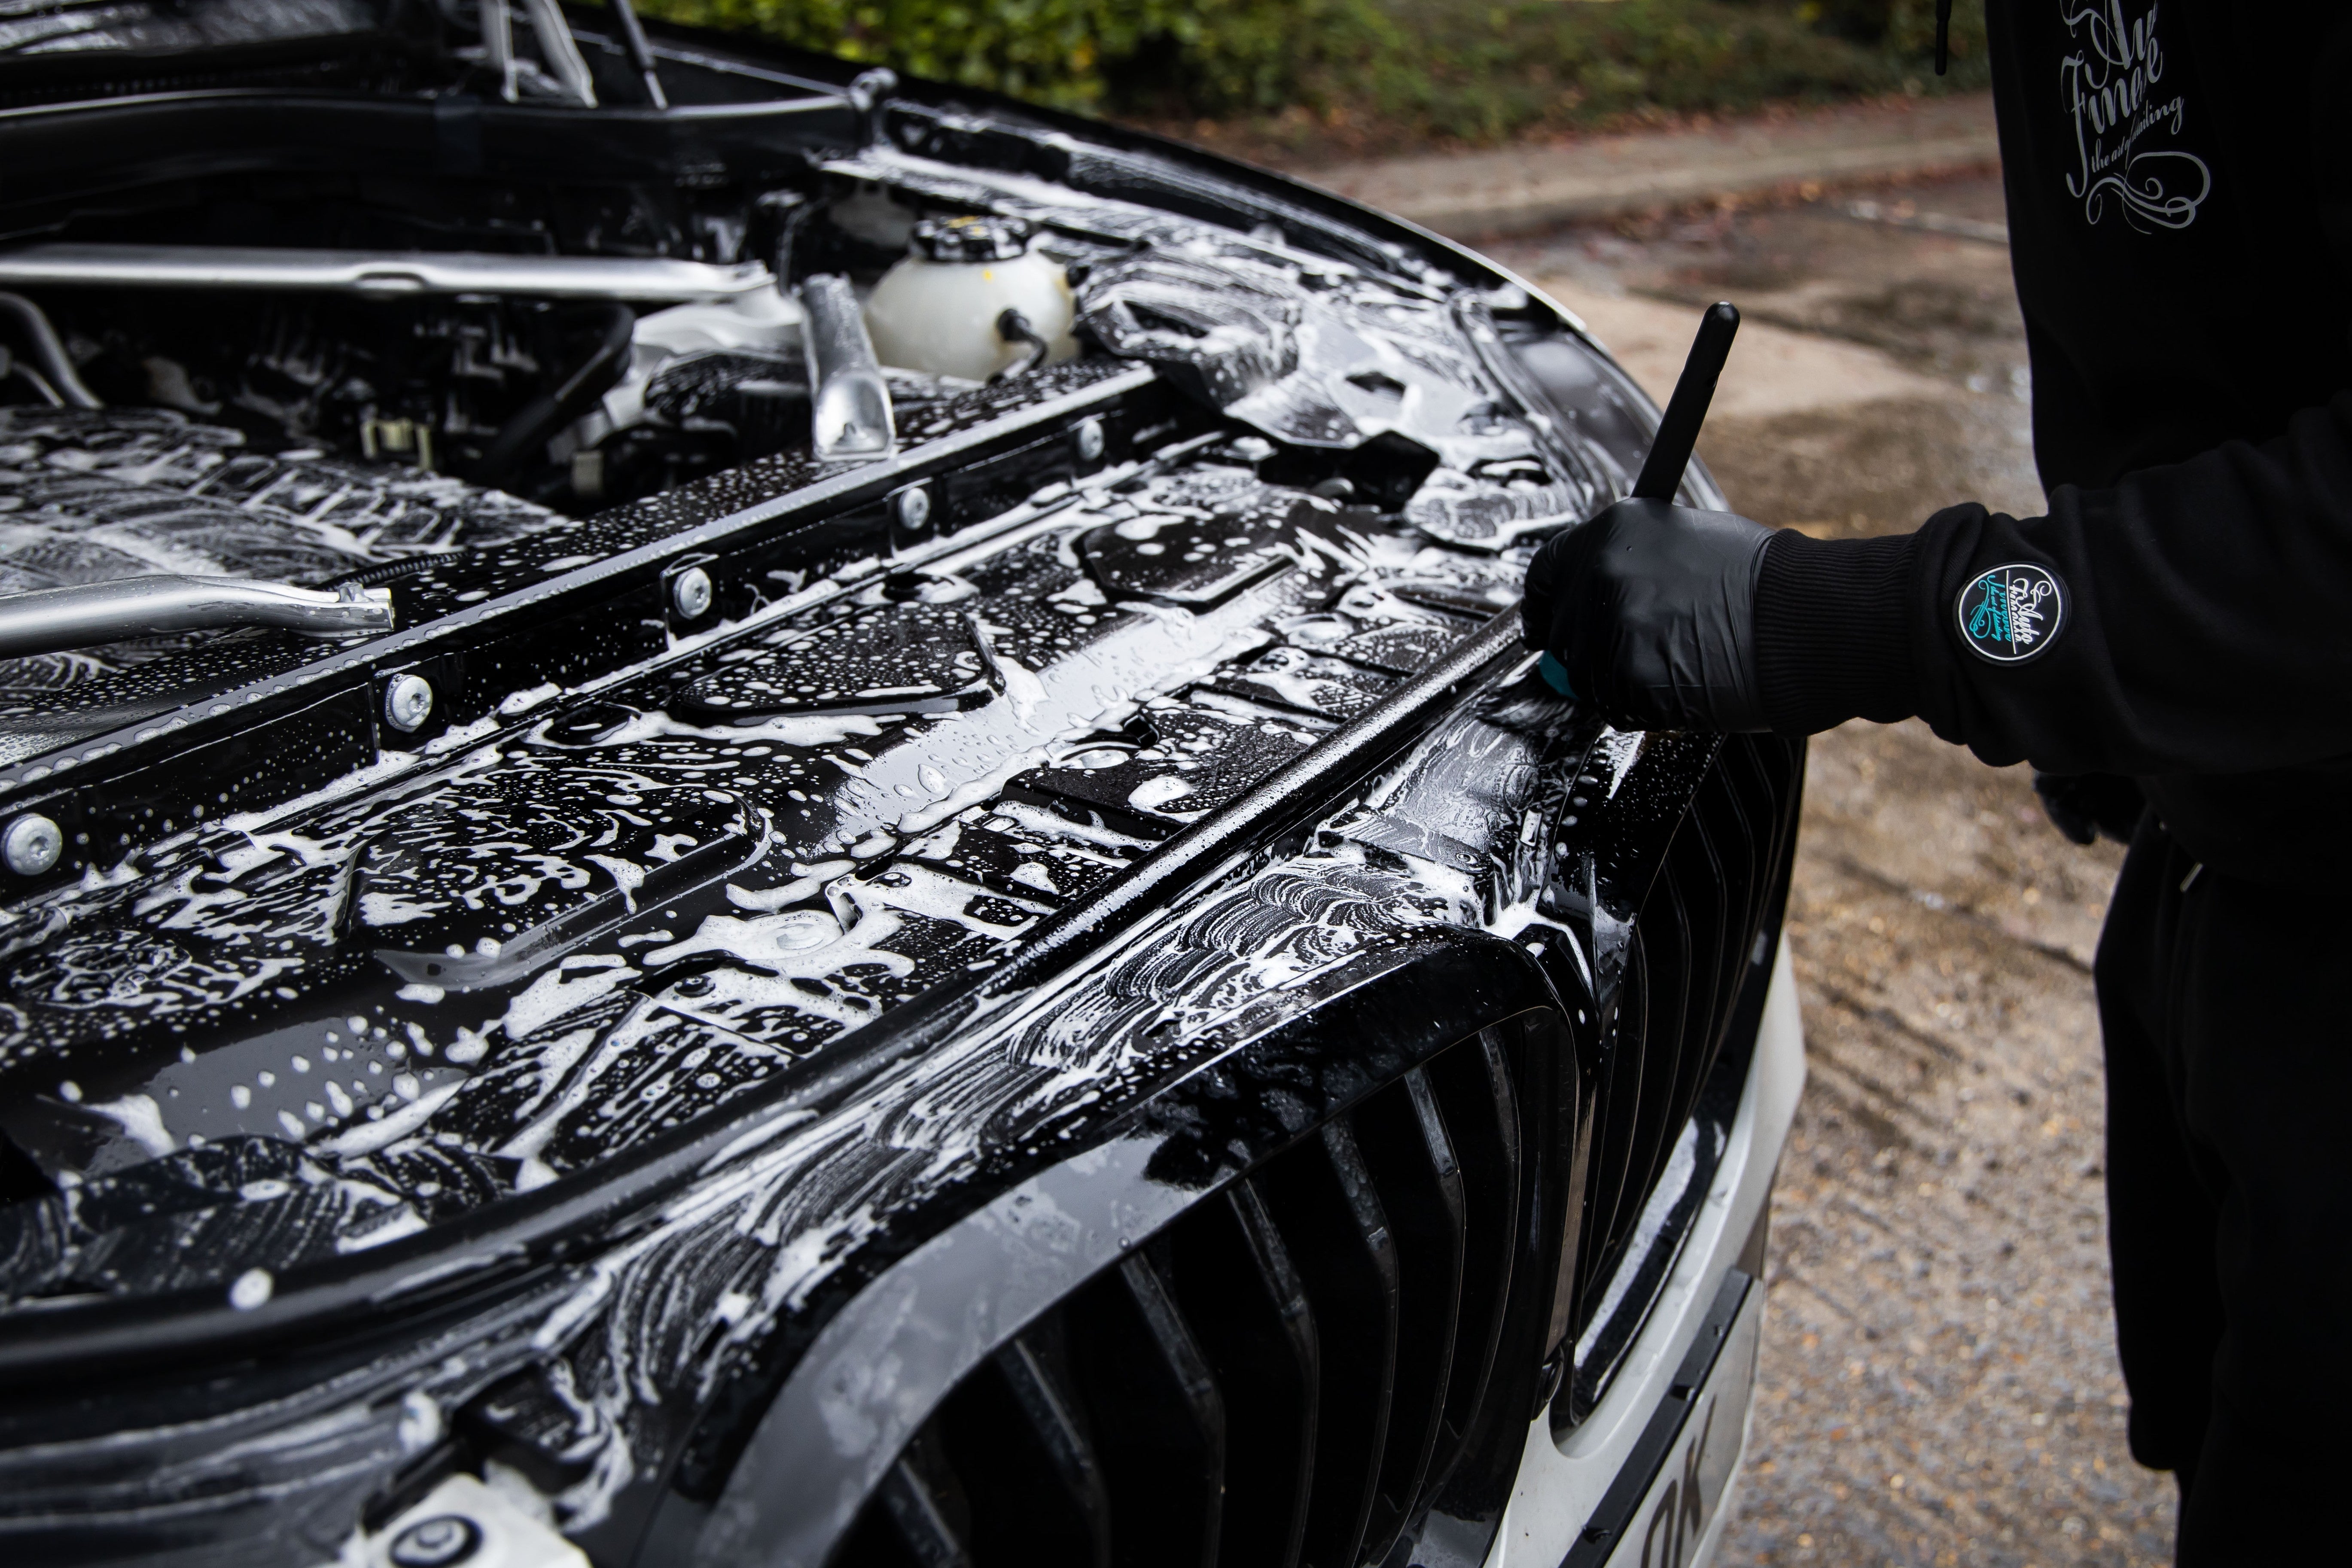
There's no doubt that they're often forgotten, but cleaning areas like your door jambs, the top of bumpers that are normally inaccessible and boot shuts can make a huge difference to the finished article.
The best way is to make them a part of your maintenance routine. A little Citrus Power Bug & Grime Remover or Dynamite Traffic Film Remover, agitated with a detailing brush, during the pre wash stages will go a long way to bagging you a better, and ultimately safer, detail.
And don't forget that these areas can usually be enhanced, too. A quick hand polish with Tripple All-in-One Polish here will clean, polish and leave a layer of glossy wax protection.
When cleaning your wheels it's all too easy to get caught up in the suds and miss parts when you're brushing in your cleaning solutions. We've all done it!
The best way to make sure you agitate your cleaners into the whole wheel is to ensure you start and finish at the same point.
It sounds obvious but it's a great pro trick - either start and stop at the top (12 o'clock) or the valve cap. Simple but effective.
Your contact wash is one of the most important wet work stages, but for the best results always think about the shampoo you're using.
First of all, in the vast majority of cases, you won't want to risk stripping away any previously applied protection layers. Using pH neutral products like our wax, coating and sealant-safe Lather Car Shampoo will ensure that your protection barriers wont be abraded and will continue to do their job. Lather contains no waxes or shining agents, either. It deep cleans surfaces, nothing else. Making it perfect for just about every detail.
Second, some car shampoos - like our Caramics Enhancing Shampoo and Wash 'N' Gloss - are designed to have extra attributes along with their powerful cleaning qualities, such as actively strengthening and prolonging the life of previously-applied ceramic coatings. Or even adding a SiO2-based coating all on their own. These kind of products can lift the results of your maintenance detail without giving you any extra work. A real bonus in the right circumstances.
Some of the most effective top tips are the simplest, and this is one an all time great.
Labeling your wheel bucket, along with your two contact wash buckets, can save you a whole load of pain on your next detail.
Mixing up your Wheel, Wash and Rinse buckets when they're in storage in-between details can often ruin your next swirl-free wash. It's just not worth the risk so either break our the permanent marker or get yourself some of our exclusive Bucket Stickers.
Juddery, noisy windscreen wipers? In most cases it simply means that they're dirty.
To avoid the judder, and to ensure that your wipers aren't dragging scratchy grit all over your windscreen, give the blade a thorough clean using a solvent-based product like Crystal Glass Cleaner. What this fast-flashing formula does is break down and lift any grime present, drawing it out of the rubber and allowing it to be wiped away safely.
Simply spray your Crystal directly onto the blade and give it a good rub with a clean microfibre cloth every time you clean your glass.
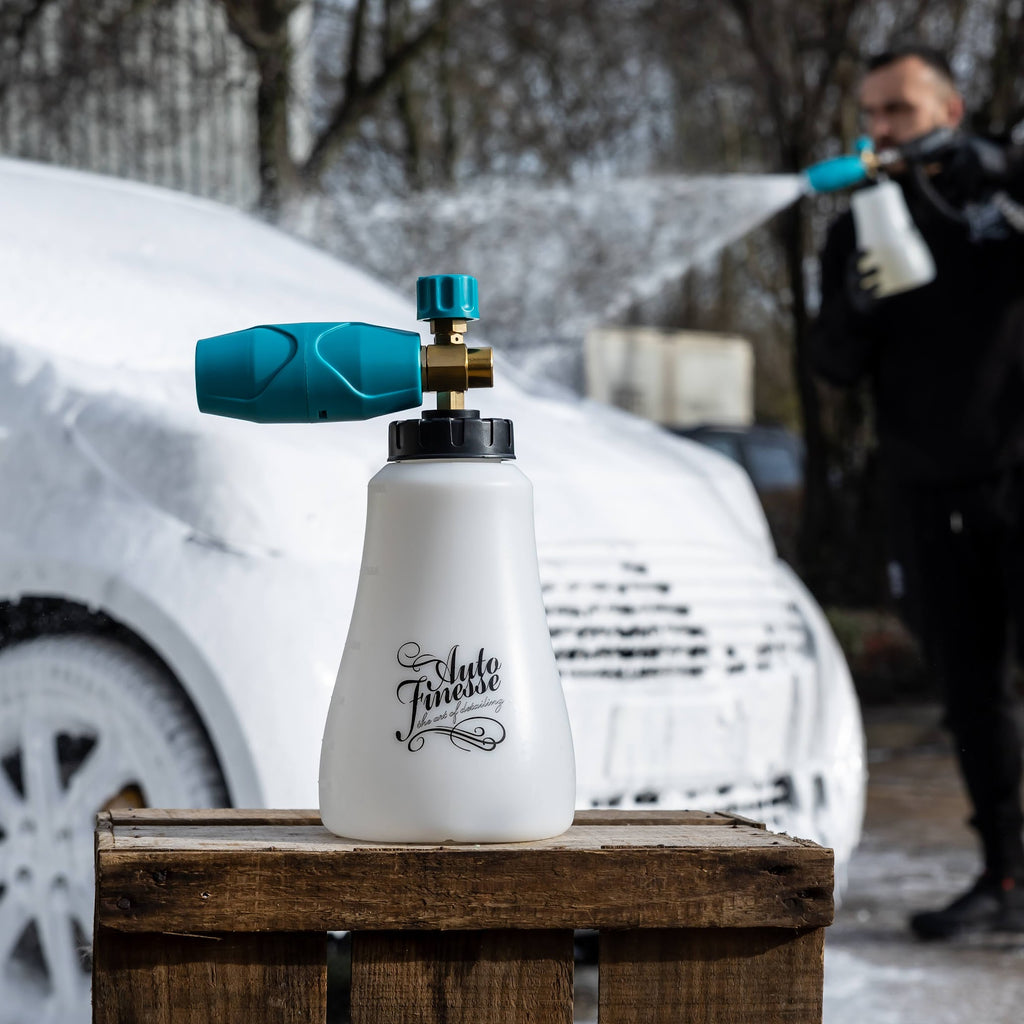
Diluting your Avalanche Snow Foam in your Foam Lance Bottle is always straightforward. But instead of putting in an inch of so of concentrate and then topping up with the tap, why not dip the bottle in a bucket of clean water to fill the bottle, instead? This simple trick will not only stop the concentrate from foaming up prematurely but, if you're usually a bit heavy-handed with the water flow, it'll also stop it ending up all over your trousers!
Warm water cleans better, that's a fact. It's also far nicer to use during routine maintenance on those cold winter months. But always use a little common sense when filling your wash buckets ready to contact wash.
Avoid using hot water during the summer (or any warm weather) because it can significantly speed up the drying process. After all, one of the most important rules in detailing is to never let your car exterior dry naturally, always keep it wet until you come to the drying stage.
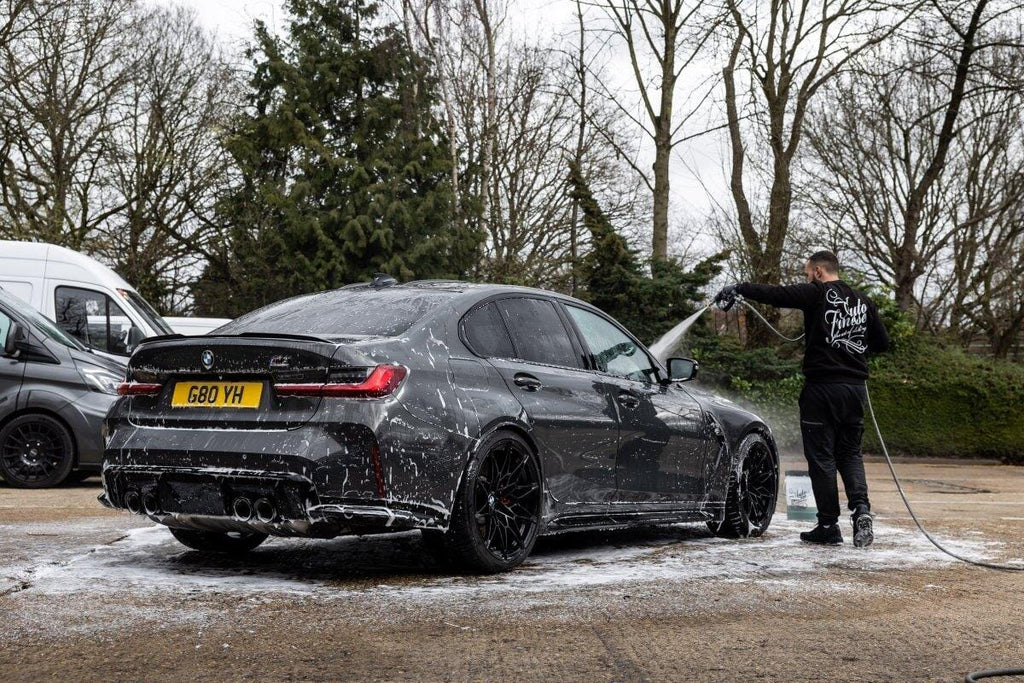
Despite what you may read online, it's always best to apply your snow foam from the top of the vehicle down.
Some say that applying from the bottom up helps the foam refresh itself as it drips down, and we can see the science in that. But the reality is that, along with working its way into all the panel gaps, snow foam is designed to linger on surfaces for as long as possible while it breaks away bonded contamination. You want it staying in place for as long as you can until you come to rinse.
Most of all though, you don't want the water flow to push any grime from the bottom of the car (where it's usually more concentrated) upwards to cleaner areas. This defeats the object of a safe wash, and just isn't worth the risk.
To get the best results when using Iron Out Contaminant Remover to remove metal contamination in paintwork, lightly agitate the solution with a wet microfibre Work Cloth, Polish Pad or Microfibre Applicator.
As with other cleaning processes the purpose of a little light agitation here isn't to try and physically scrub away contamination, it's simply a way to make sure that your cleaning agents make contact with every part of the area. It also makes the most of your detailing products by refreshing the solution when needed. Essentially you're pushing away any 'spent' solution (in our case Iron Out that has reacted and is encapsulating the maximum amount of metal particles) and moving in fresh solution to work on any remaining contamination.
Basically speaking (and aside from contact-less processes such as your pre wash) if you're not agitating, you're not getting the most from your detailing products.
The order in which you detail different areas of the vehicle just as important as the processes involved. In short, every detail should start with the dirtiest areas that are exposed to the most harmful types of contamination.
This simple measure helps to prevent spreading the most harmful contaminants to cleaner areas of the vehicle, and limits the infliction of damage on potentially sensitive surfaces such as paintwork.
In most cases of course, that will mean starting your detail with your wheels, which are exposed to all sorts of corrosive contamination such as brake dust and road salt. But do bear it in mind if you're planning on wet cleaning engine bays or chassis components as part of your detail. Clean these areas before you start on any others.
The truth is that dirt traps are called that for a reason, in many cases they're impossible to get to for the ultimate deep-clean without removing certain vehicle components first.
Now, while we will admit that our pro detailers take this to the next level on most of our big details - chiefly by removing bumpers, full interiors and the like. That's not to say that there aren't many smaller parts that are easy to remove and clean separately… and to get access to the areas behind the parts themselves.
Rear light clusters, grilles and even wheels are all straightforward to take off and we're often surprised just how much grime we find behind them. That said, it's never anything that a suitable dilution of Verso All Purpose Cleaner and a scratch-free Detailing Brush can't sort out!
A spot of carpet art can make a great finishing touch to your interior detail. And, what's more, it's extremely easy to go the extra mile.
The easiest way to stripe your carpets and floor mats after cleaning is to use an Upholstery Brush to brush all the pile one way, and then give the whole area a light spritz of Total Interior Cleaner or Verso All Purpose Cleaner. You only need to moisten the surface a little before brushing the pile in opposing directions (before it drys) to ensure that the pattern is obvious.
It doesn't have to stop there though, many pro detailers prefer to use a stencil of a signature pattern or their company logo to really stand out from the crowd.
Using the cross hatch method when applying a ceramic coating or SiO2-based protection product is perfect to ensure full coverage on each panel. However, our top tip is to ensure that the final pass is in the direction that water will off of that specific area.
On a bonnet for example our final pass would be would be from the front to the back of the bonnet, and on doors and vehicle glass, vertically from top to bottom. Doing it this way will aid in creating the water behaviour that the product promotes, allowing dirty water to run off the surface more easily.
One of the best ways to lift any detail is to make sure that any parts of the car that aren't up to scratch are tackled to ensure they don't detract, or draw the eye, from other important areas such as your paintwork.
One of the most common areas to suffer from ingrained dirt, fading and sometimes polish staining on older cars are window rubbers and weather strips.
The professional way to tackle these is to use a little neat Verso All Purpose Cleaner on a microfibre Work Cloth to vigorously rub over the surface. What this does is take away a tiny portion of the top layer, along with the grime, to reveal a fresh portion. It's the same process as using a metal polish on exhaust tips and brightwork.
After deep-cleaning in this way you can follow up with a little Revive Trim Dressing to darken the colour, add UV protection and bring the surface back to life.
Although we don't recommend using heavy duty tar and glue removers on bare plastics, when it comes to your inner arch liners they can be mighty effective for deep cleaning.
It's not a process to carry out on every single detail of course, but when deep cleaning arches (with the wheels off) our solvent-based ObliTARate Tar & Glue Remover will eradicate the types of particularly stubborn harmful contamination you'll find in these areas. Here you can simply spray on the product and wipe off the sticky oil-based contamination it melts away from the surface.
We always go by the rule that bare plastic isn’t truly clean unless it beads off water - after using ObliTARate you'll notice the beading on your inner arches immediately.
The quickest and easiest way to finish areas such as your engine bay and inner arches to perfection is spraying on a liberal helping of Dressle All Purpose Dressing... and then just leaving it.
Safe to use on all plastic and rubber trim, this water based dressing spreads itself, soaks into areas that need restoring and then cures over a few hours for an immaculate, even finish. You can of course go back after it's cured and wipe away any excess... but who's got time for all that?
The great thing about Dressle has always been that you can simply spray and walk away.
Glisten Spray Wax offers perhaps the quickest and easiest way of adding wax protection that lasts for up to 4-weeks. With this super-speedy product, all it takes is a light spritz and a wipe and the advanced wax emulsion solution will instantly bond and protect surfaces from the elements.
One of the best things about Glisten though, is its versatility. It can not only be used to add protection and acres of shine to whole exterior panels (on both gloss paint and vinyl), or to top up previously-applied wax layers. But Glisten is ideal for the speedy treatment of commonly forgotten areas like door shuts, inner doors and tailgates. A light spritz and buff is all you need to lift these areas and make them far easier to clean on your next maintenance wash.
You can also spray Glisten into awkward, inaccessible areas like panel gaps where it will spread and treat those to a little added protection, too.
It's a simple one this, but a top trick. When cleaning your interior, adjust your steering column downwards for easier access to the areas around it that are often missed.
When performing your contact wash, taking the right route around the car is an important safety measure that will help you get the ultimate swirl-free car wash.
To limit the spread of heavier soiling to cleaner areas of the vehicle, we always tackle those last. Basically we wash from the top down but in a targetted manner.
Start on the roof, the glass, the bonnet and the upper sides, and then move on to the front bumper, lower sides and finish with the rear.
Don't forget to wash in straight lines rather than circular motions to further cut the risk of inflicting swirls.
What we mean by the term 'dedicated mitt' is a wash mitt that's used for a specific (usually dirty) process and nothing else. This is a simple way of keeping the cleaning stages as safe as possible.
The obvious one is using a wash mitt that's reserved purely for cleaning wheels. Wheels are typically smothered in the worst kinds of contamination, so it's a good idea to make sure the mitt we use for cleaning them is never used on the exterior paintwork later.
Some detailers also like to swap out mitts half way through their contact wash. They'll use a different mitt for the cleaner areas and then swap to a dedicated mitt for the areas that have a larger concentration of contamination, such as the lower sides, sils and back bumper.
Your mobile phone can be a handy tool for detailing... and we're not just talking about reading our huge selction of detailing guides or tagging us in the pics of your spankingly clean car on your social media.
Sometimes when you're working in low light your phone can get you out of trouble. Using your torch as a impromptu light source to highlight swirl marks won't be a good as getting yourself a proper detailing lamp (such as our Swirl Spotter Detailing Light) but it may help you out if you're in a bind.
If you overrun on your maintenance wash and the sun is going down, it can also be useful to take a few pictures to highlight any areas you may have missed. We've seen many a detailer do this over the years.
Using Rejuvenate Paintwork Cleanser before applying your hard wax will always improve the performance and longevity of your protection. This product uses light abrasives and special solvents that deep cleanse paintwork to not only give the perfect base for wax bonding, but to make sure the glossy results pop!
It doesn't stop there though. A little Rejuvenate on a microfibre Work Cloth can do wonders for stained and water marked gloss plastic trim. These can be awkward to clean at the best of times, but a little Rejuvenate makes it quick and easy.
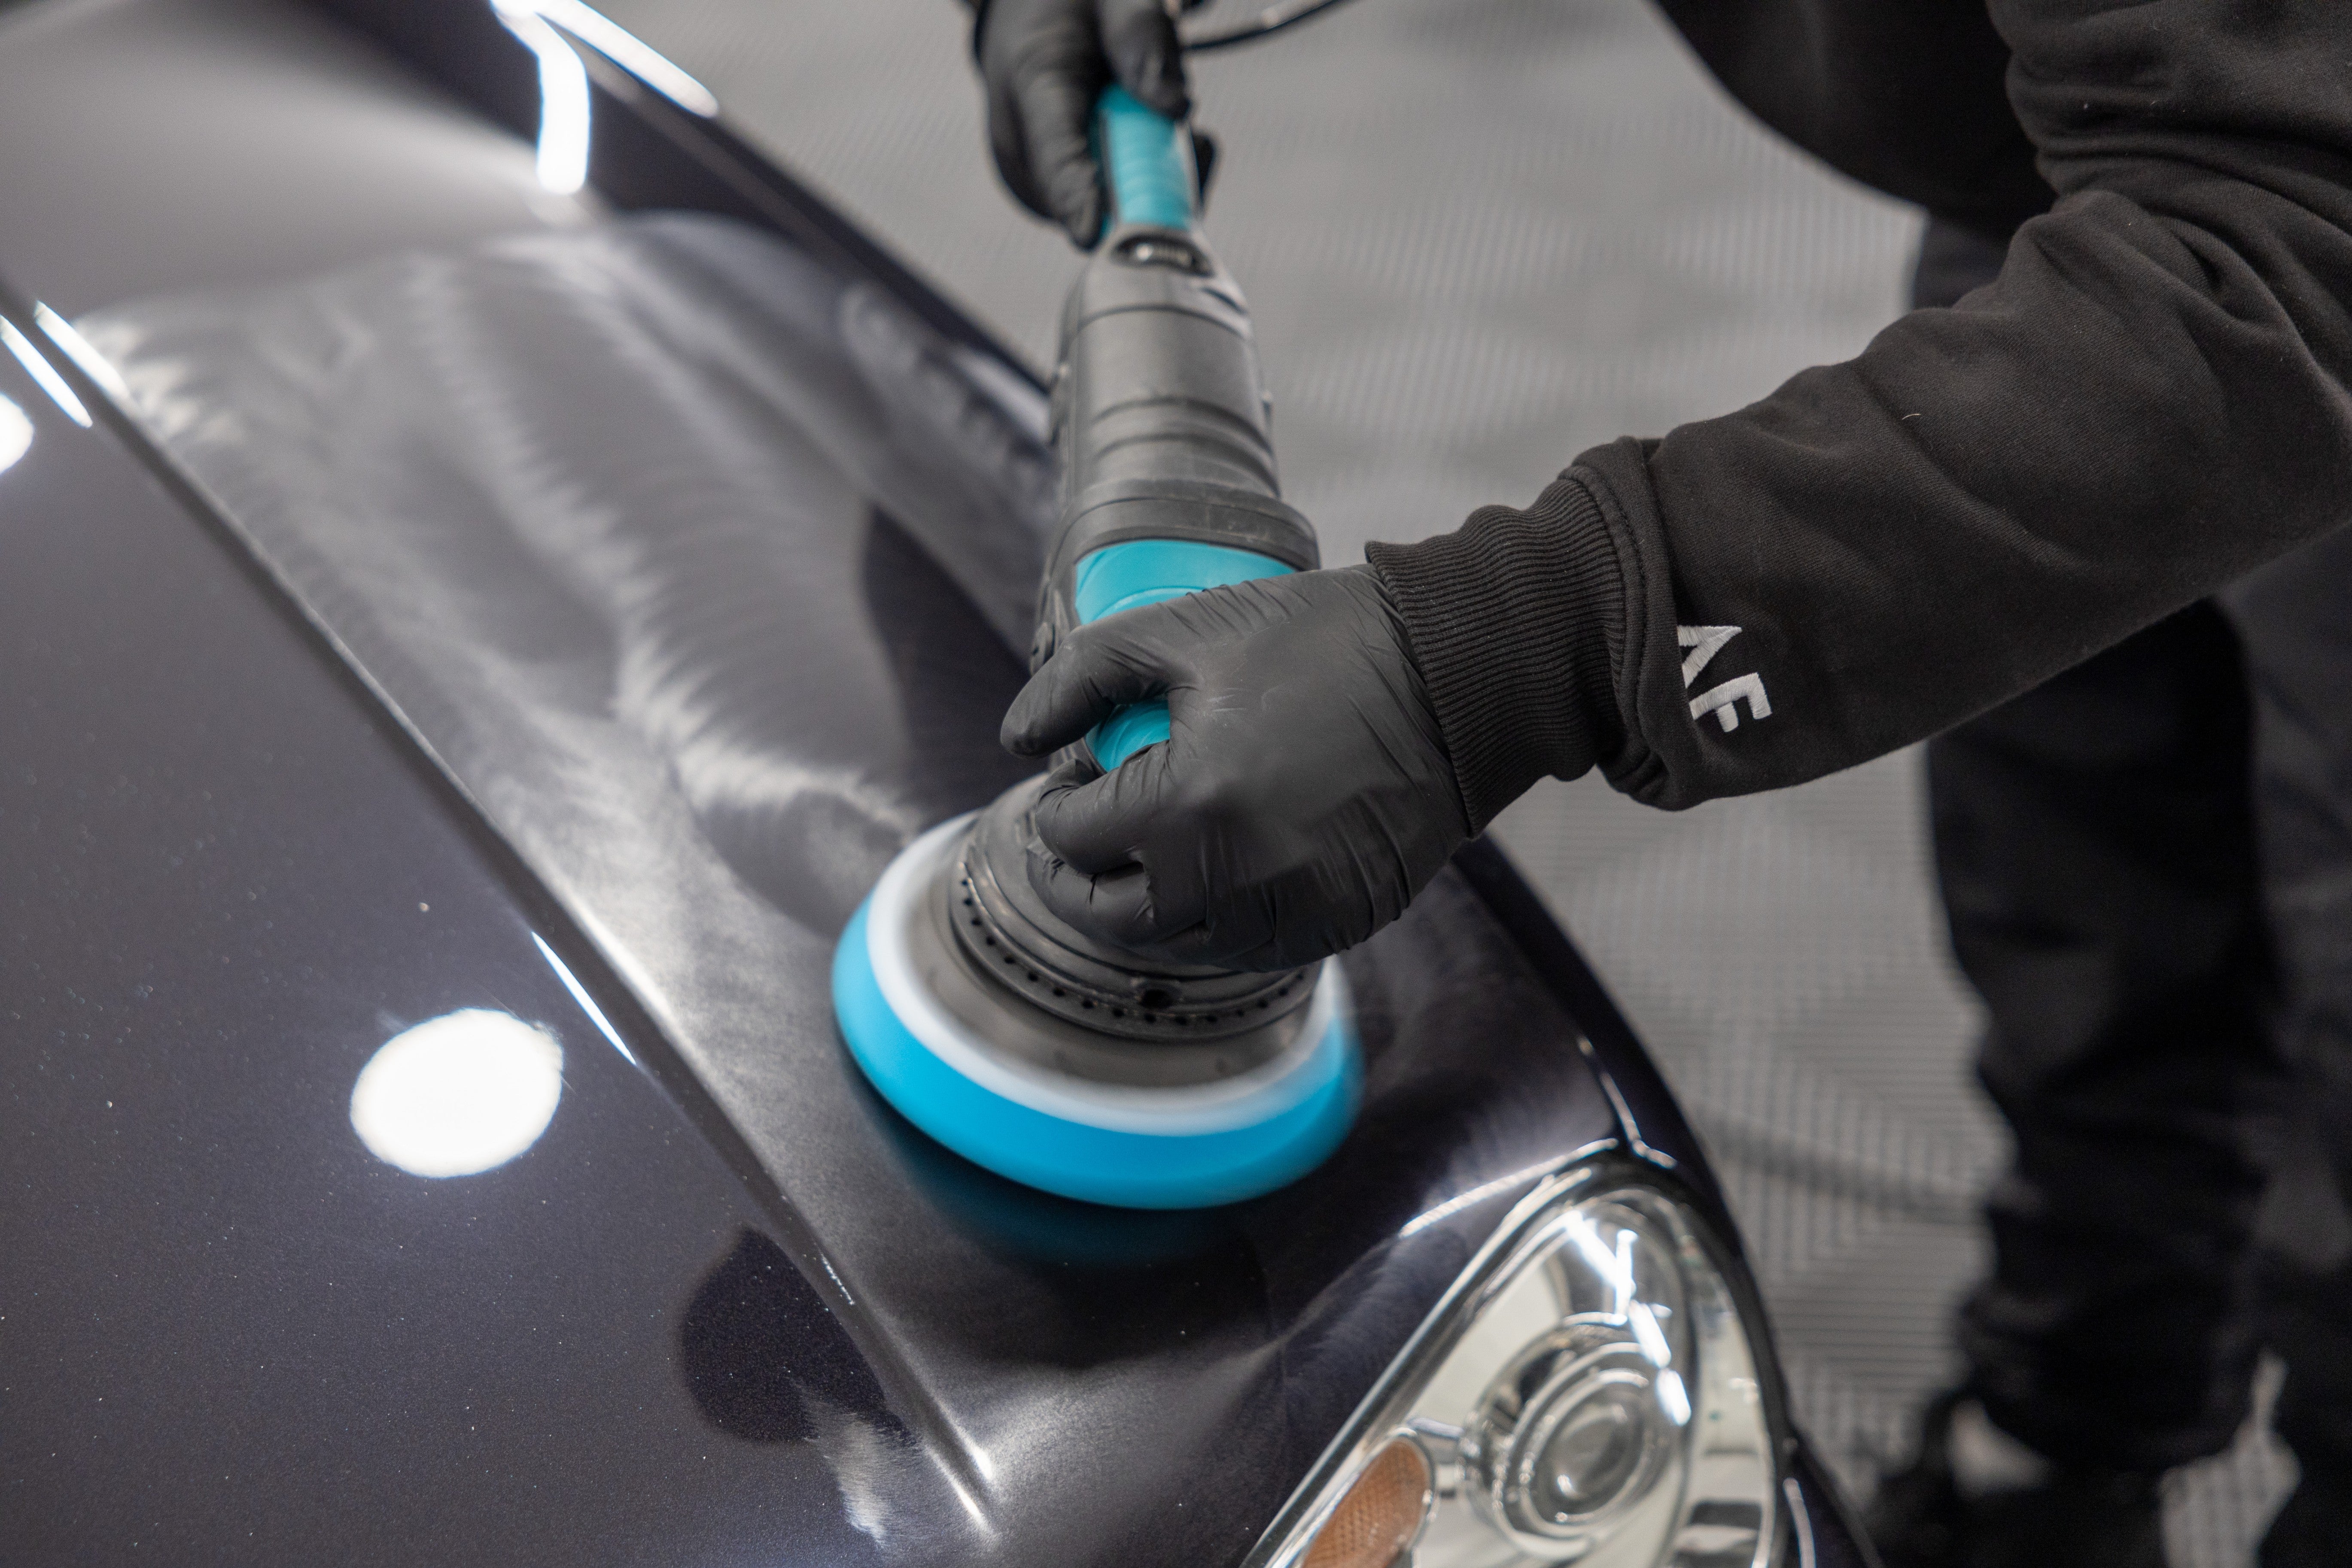
Pretty much every pro detailer uses this trick and it's super simple.
When machine polishing horizontal panels like roof and bonnets the easiest way to stop the cable from touching your paintwork (and potentially causing light scratching) is to pop it over your shoulder and out of the way.
Using Lavish Ceramic Foam is a great way to install - or top up - your ceramic protection quickly and easily during the wash stages.
Designed to be applied with your Snow Foam Lance you can use Lavish immediately after rinsing your contact wash residue, while the car is still wet. This product bonds instantly to create an ultra-hydrophobic SiO2 layer that's impermeable to water and grime. In other words, you'll get plenty of beading and water sheeting off the surface, and the protection lasts for up to 6-months.
But, did you know that you can also 'wash in' your Lavish in for even crazier results?
Even though Lavish is great for a quick apply-and-rinse application, if you take a clean wash mitt, wet it in plane water, and contact wash the foam into all surfaces before your rinse, the water beading and other hydrophobic properties are enhanced. It's perfectly safe to do so because your car will already be clean. Don't forget that Lavish may look like a snow foam but it's not a cleaner, it's one of our most advanced protection products.
UV radiation is more harmful to vehicle surfaces than many realise, even when it comes to your interior.
Interior plastics are prone to fading over time, and the effects are multiplied on the parts that are constantly exposed to the sun. Dashboards and the tops of doorcards can be some of the most susceptible to UV fading and cracking, and this means that a little protection will always go a long way.
The best solution is using a quick application of Spritz Interior Quick Detailer. This advanced cleaning solution is packed with UV inhibitors to stop the sun in its tracks. Think of it like sunscreen for your interior plastics.
Spritz can be sprayed directly onto the surface, or onto your microfibre cloth for more targeted application when you want to avoid overspray. Just a spray and a wipe is all it takes to clean and protect in seconds.
Spritz also contains anti-static agents to prevent future dust and dirt build-up making it ideal for cleaning other sensitive components such as LCD displays and stereo screens.
Many aftermarket wheels have 'polished lips' and you can easily bring these back to life with Mercury Metal Polish (or Mercury Xtreme Metal Polish for the toughest tasks). But, bear in mind that all may not be what it seems when it comes to your rims.
These advanced cleaner polishes use light abrasives and deep cleaning solvents to clean away oxidation and strip back a tiny portion of the top layer to reveal the original lustre... but they're only for use on bare metal surfaces.
Many wheel manufacturers offer polished lips but these may not be bare metal, instead they will have added a lacquer layer for protection. You can test this using a little Mercury on a Microfibre Applicator or Work Cloth. Just apply to a small area and see if the microfibre goes black. If it doesn't, it means that the area isn't bare metal… but, don't worry, you can use Tripple All-in-One Polish to clean, enhance and protect instead.
We're saying "don't forget the pedals" because you'll be surprised at how many people do. The irony of course, is that these can be the most contaminated part of any interior. We hate to think of all the stuff that we get on our shoes on a day to day basis, right?
This is why it's good practice to make your pedals an integral part of every interior detail. It's a professional trick that takes seconds at the end of your detail and can make all the difference to the finish.
Just pop a microfibre cloth under the pedals to protect your clean carpet and apply plenty of Total Interior Cleaner directly to each pedal. You can then agitate with a detailing brush and wipe away any grime.
The easy way to properly centre a pad on any machine is to put it on the backing plate, and then give the machine a spin by hand. Look down from the top and, if there's any excess wobble, take it off, squint a bit and try again. You're just not going to get the most control when you polish with an uncentred pad.
And, if you're using a brand new pad, a little spritz of Pad Prime before you polish will help eliminate any scrubbing on the initial pass.
Number plate sticky pads can be a nightmare to safely remove from paintwork… but not if you know the pro tricks of the trade. So, don't reach for that razor blade just yet.
ObliTARate Gel Tar & Glue Remover is ideal for the task because it's designed to linger on surfaces for as long as possible while it breaks down sticky contamination. Simply use your Microfibre Applicator to apply a liberal helping of ObliTARate Gel. Wait for 10 minutes or so, and then wipe away the residue with a clean microfibre.
Alternatively you can use a cotton wool pad soaked in ObliTARate Tar & Glue Remover, and leave that to soak into your numberplate pad for 10 minutes.
If you're having a little trouble getting all the debris out of carpets or mats, use a medium stiff brush to physically lift them out of the fibres.
If you haven't got a vacuum cleaner brush attachment, it's not a problem, just give the surfaces a good going over with an Upholstery Brush or even a Rubber Scrubber before you break out your trusty Hoover. This will help to bring the trapped particles to the top where they can be vacuumed away more easily.
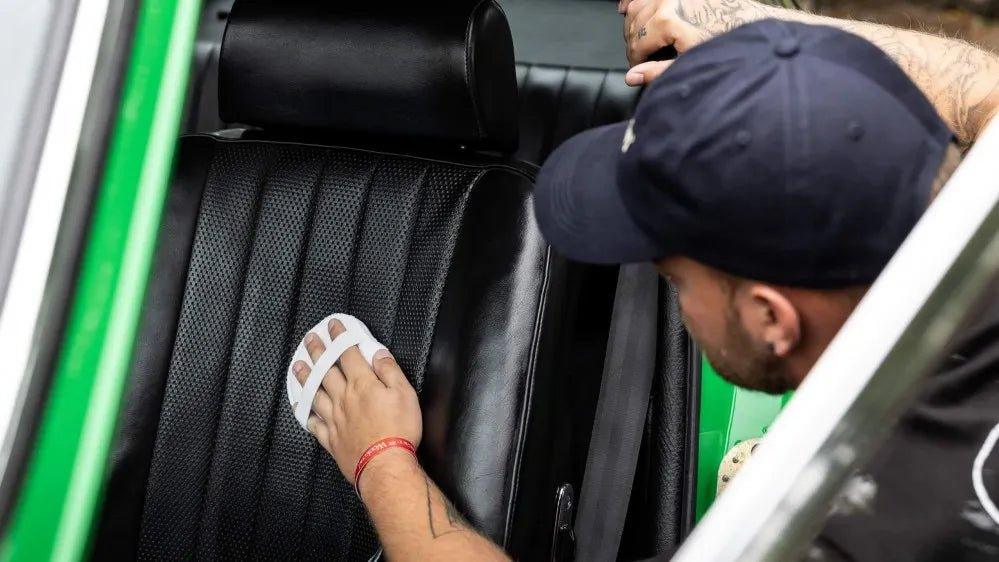
Pro detailers often use a steam cleaner to fully sanitise plastics, carpets, cloth and leather, both inside and out. But, as long as you're careful, on some surfaces you can use a heat gun, too.
One of the huge advantages of a little heat is that it opens up the pores in plastics and hide allowing your cleaners to get in deeper than ever before.
Now obviously you only want to warm the areas a little, we're not talking about blasting them with heat for any long period of time. But it can be a mighty effective way to make the most of your interior cleaning agents. On leather in particular, a little heat can also swell the hide and help it to spring back to the original shape, perfect if it's become marked, dented or deformed.
Many high-end cars use paint protection film nowadays, and in most cases this means you have to adapt the way you detail. For a start you'll need to be a little careful where you point that jet wash - you don't want to go ripping up your film, right?
When it comes to protection, PPF does indeed shield the paintwork underneath, but that doesn't mean that it isn't susceptible to swirling and ingrained contamination itself. It's just cheaper to replace than the paintwork. The good news though, is that your PPF can be protected with a single application of Graphene Filler Liquid Wax.
This super advanced sealant contains Graphene, a form of carbon that's harder than steel on a molecular level. It instantly bonds to paintwork, plastics and PPF to create a hard layer of ultra-hydrophobic protection, along with a whole load of shine. It's also extremely easy to apply and buff off, and stops grime from sticking to make surfaces much easier to clean the next time around.
You can also use a little Tripple All-in-One Polish to gently hand polish old PPF, cleaning the surface and bringing tired, yellowing film right back to life.
We're all car enthusiasts, so it stands to reason that we all love a trackday or three. But one of the biggest problems is ridding your car of all those stubborn rubber marks when you get back. You know, the ones that just won't come off when you wash.
The answer here is simple, on paintwork and vinyl wraps, a little ObliTARate Tar & Glue Remover applied to a microfibre Work Cloth and dabbed onto the surface will melt away rubber marks, allowing you to quickly wipe them away.
On PPF a slightly milder solvent will do the job nicely, without softening the film. Here we use Crystal Glass Cleaner sprayed directly on the surface, before wiping over with our cloth.
So, now you know.
Headlights are pretty important, we think you'll agree. So, it stands to reason that protecting your headlights, especially after any restoration or polishing has taken place, should be high up on the agenda. Unfortunately it's and area that's commonly missed during details where protection is applied elsewhere. And, even worse, headlights are particularly susceptible to the kind of fading, scratching and hazing we'd very much like to avoid. Even more so when any non-optimal wash techniques are involved and they happen to be plastic headlights.
The solution of course is to add 12-months of protection - or more specifically hardcore ceramic protection - to your headlights using our Caramics ceramic coatings.
For plastic headlights you can use our Caramics Paintwork Protection Kit and for glass headlights our Caramics Glass Protection Kit. Both are applied in the same way utilising our easy-to-use impregnated wipes to transfer the advanced SiO2-based coatings. Carrying out this process will either lock in any restoration work you've put in, or simply keep perfect headlights looking that way for longer.
It's a no brainer this one - take the time to inspect your work after every cleaning stage, and double check at the end of your detail. Just in case you have to go back and correct any parts of the car that may have not gotten your full attention.
Some of the most commonly missed areas are under the arches after your wheel wash and in the door shuts, the inner doors, under the sils and the mud flaps after your contact wash.
Our top tip of the day here though, is to always always check the inside of your wing mirrors - simply because that's the bit you (or your client) can see through the side windows when driving. Come to think of it - check the glass itself, too. You'll be surprised at how often these important areas are missed.
Take your time, inspect, check and double check. Remember detailing isn't a race.
It's almost inevitable that you're going to get a few streaks, fingerprints and other imperfections on the exterior of your car while you're completing the rest of of your detail and that makes it time to reach for one of our top finishing sprays. The majority of the time of course, we always Finish with Finale.
When you think about it, you always get the maximum impact right at the end of the detail and, no matter if it's you standing back and admiring your work or, even more crucially, the bit where you give the car back to the client, an impeccable final finish is always what we're after.
Our best-selling, professional-grade Finale Quick Detailer is the ultimate finishing spray. It gently cleans away and lubricates light dust and residues, cuts through greasy finger prints and can be used on any exterior surface from paintwork and vinyl to wheels, plastic rubber and even glass. Finale can be used to top up waxes and sealants and even over ceramic coatings, and as it's infused with T1 Grade Carnauba it will not only add a whole load of gloss, but a little protection too.
A very light spritz is all you need, before spreading and buffing with a super soft microfibre finishing cloth, and that will give you the ultimate finish every time.
In fact, the only instance when we wouldn't finish with Finale is if we're using one of our other top finishing sprays, such as Caramics Gloss Enhancer or Ceramic Spray Wax, to actively top up (or install) ceramic protection. Whatever you choose though, you should always finish every detail with a finishing spray - the clue is right there in the name.
Congratulations on completing the 50 Top Detailing Tips Course!
Before you go, don't forget to have a peek at some extra resources that you can take advantage of right now to continue your learning. We have a whole selection of online resources in the Guides section of our blog.
We welcome your feedback and hope you've enjoyed the course. Don't forget to shout about your new skills and knowledge, and share your progress on Social Media, too!
If you have any questions after you go, please don't hesitate to send an email to support@autofinesse.com